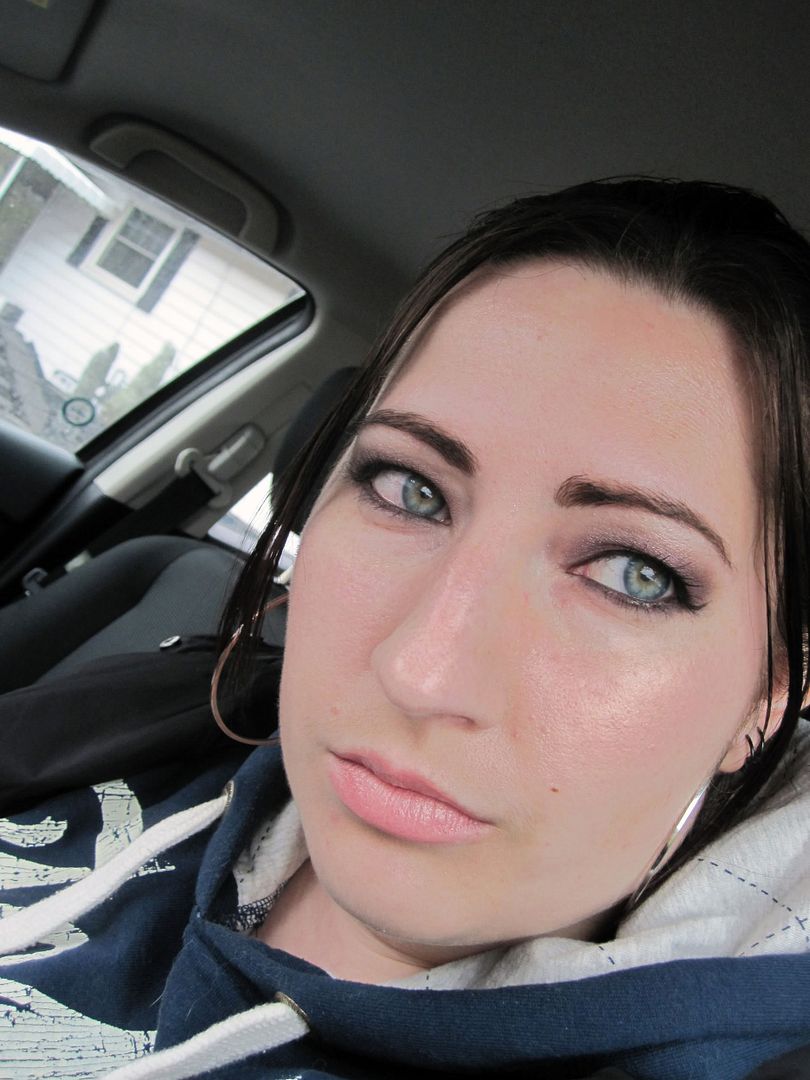
I've taken a bunch of photos over the past week but haven't had much time to post the looks. Lets see if I can try to catch up in the next few days?
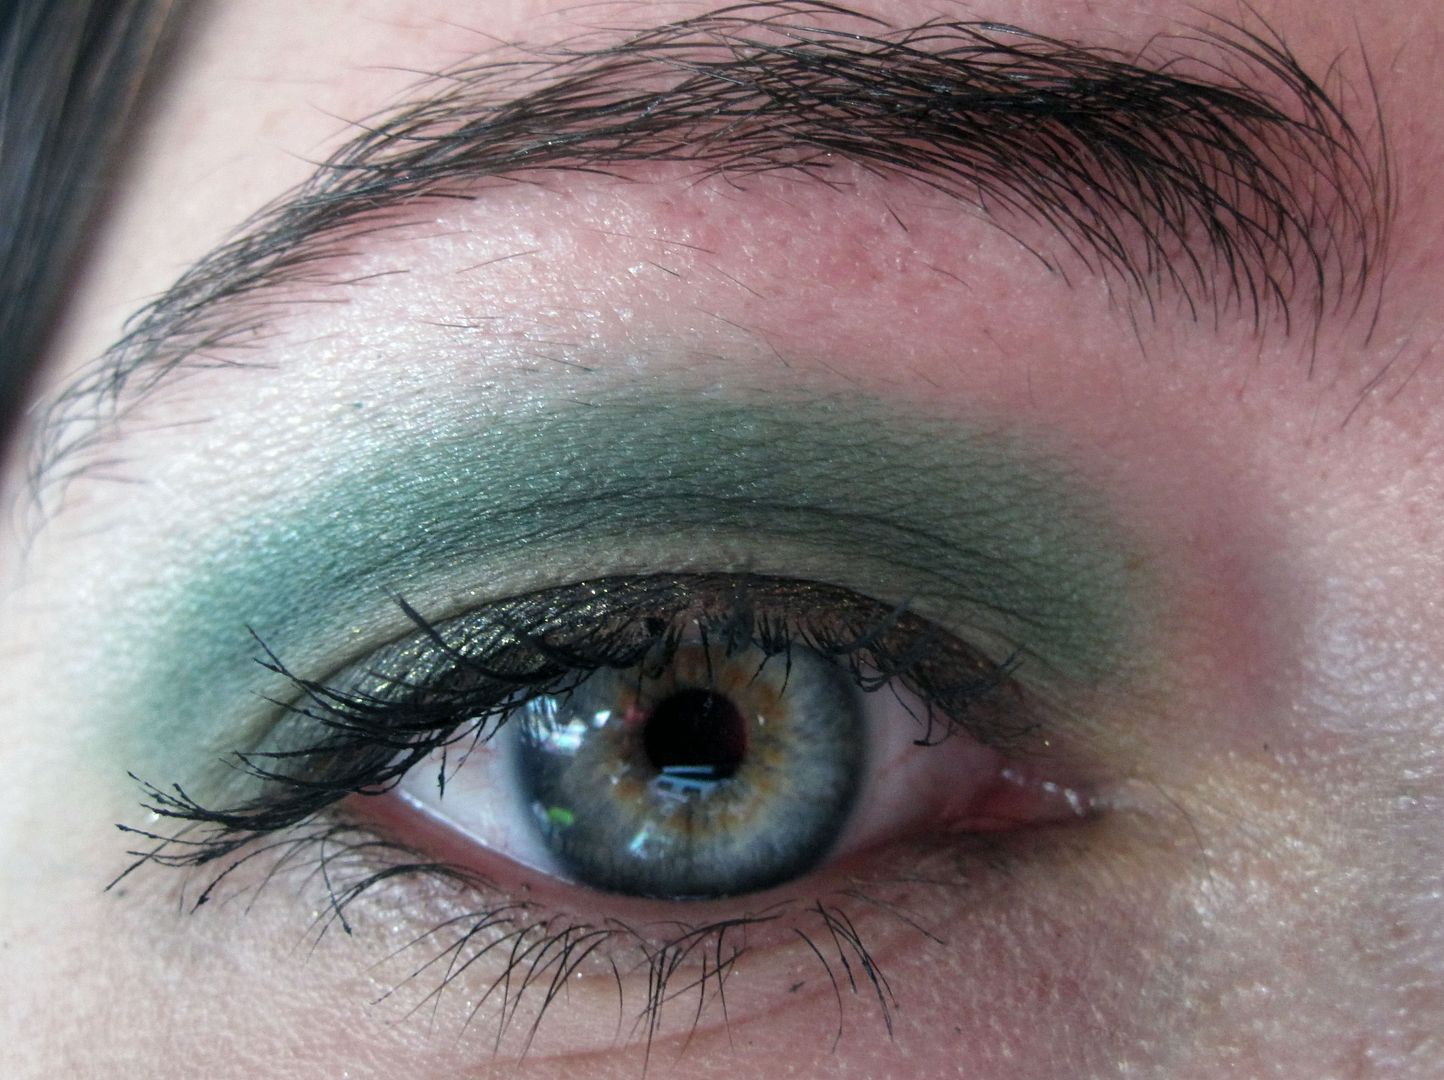
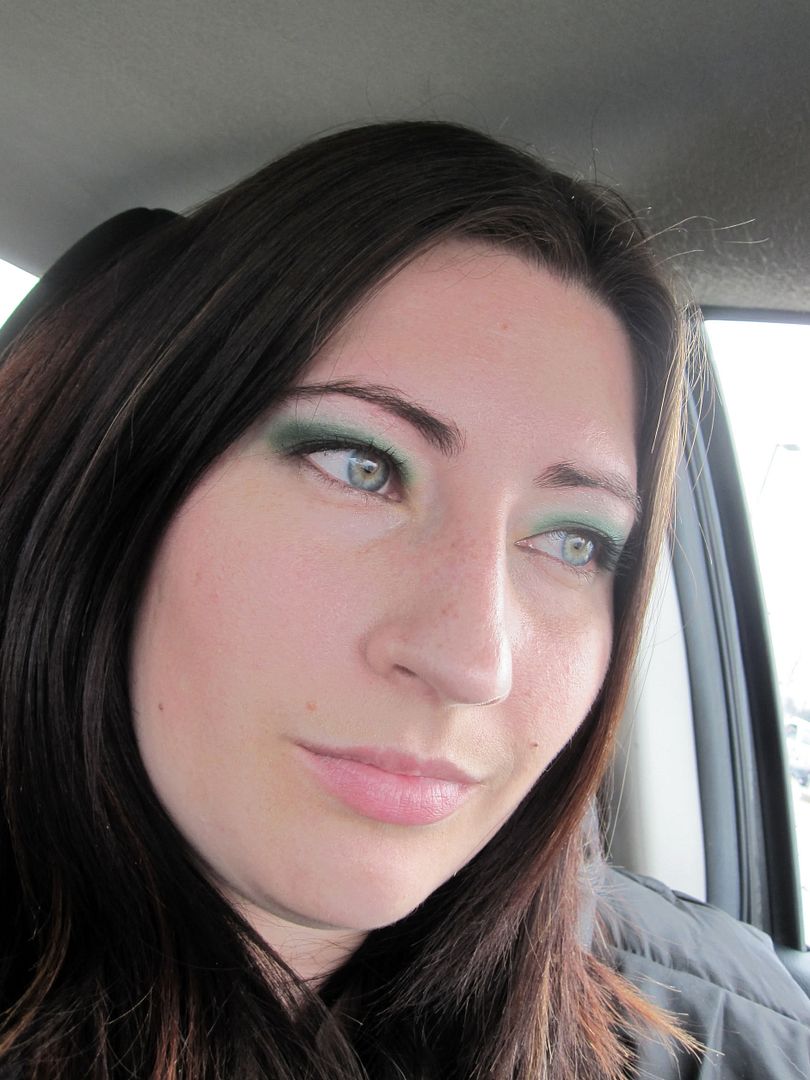
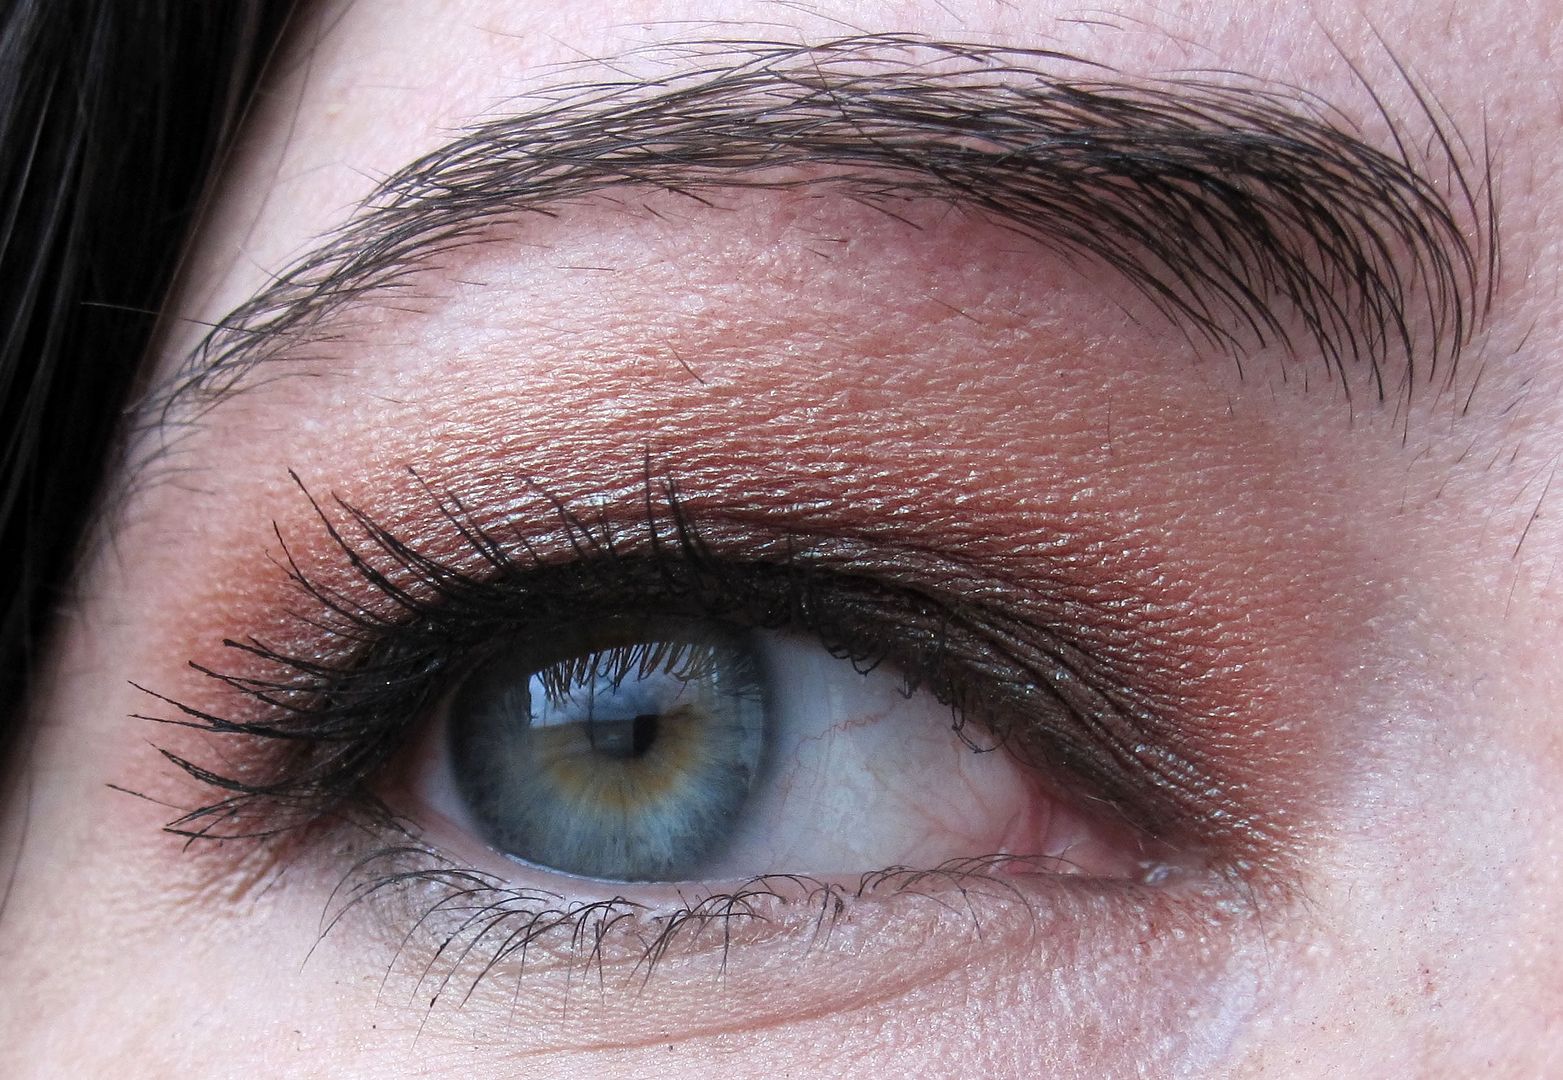
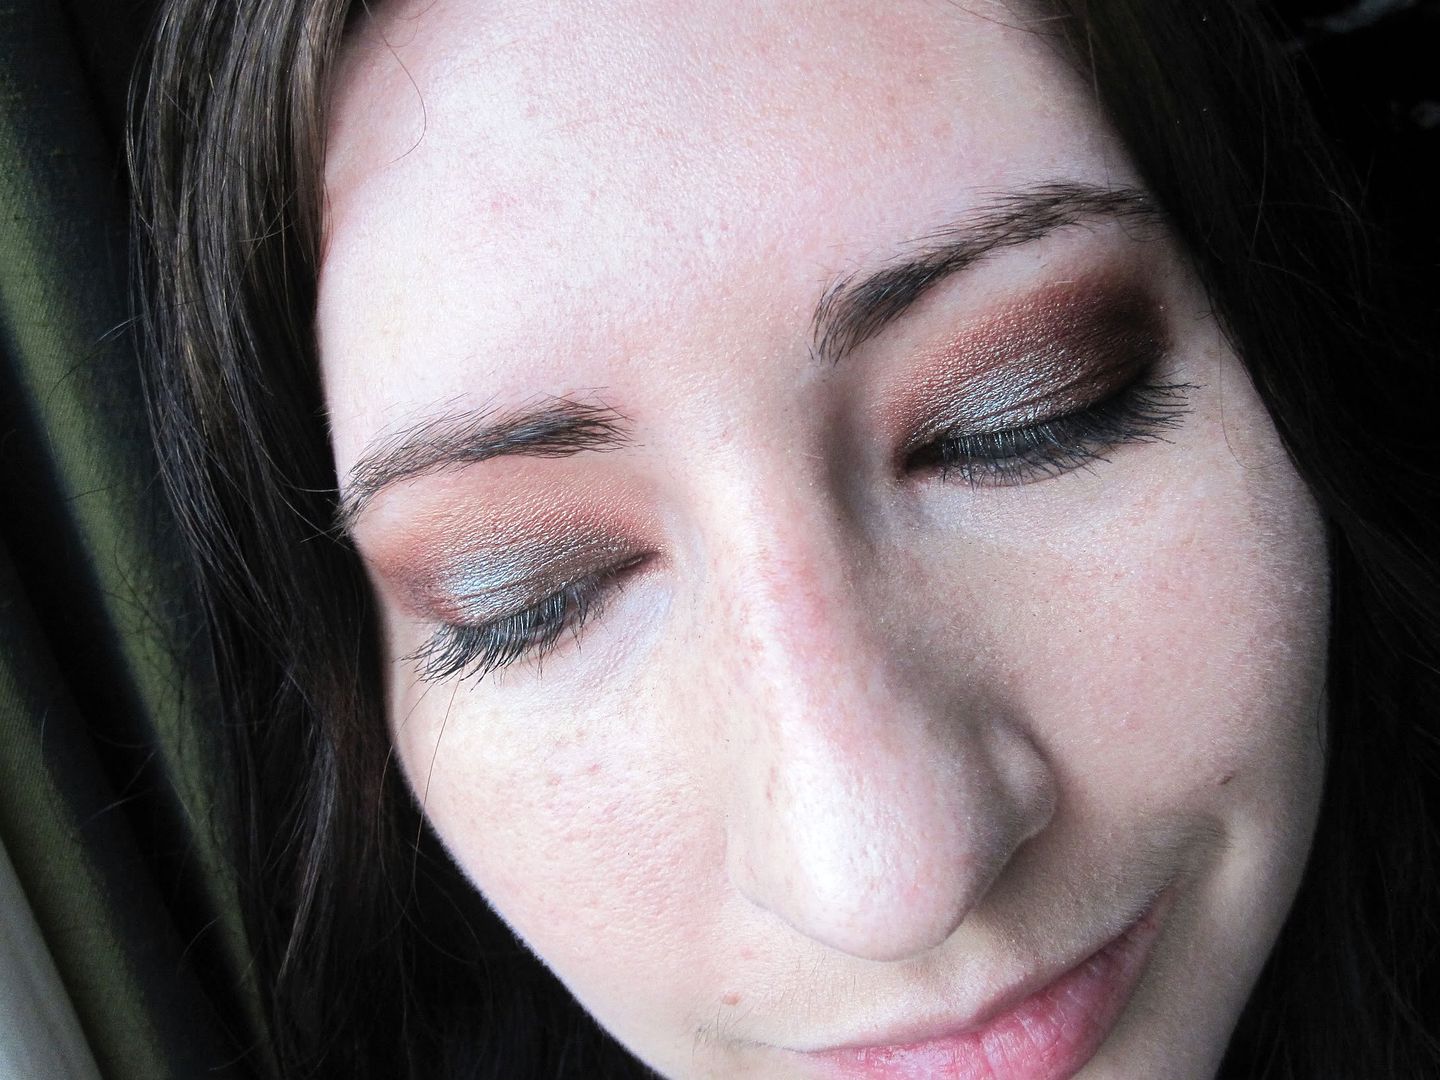
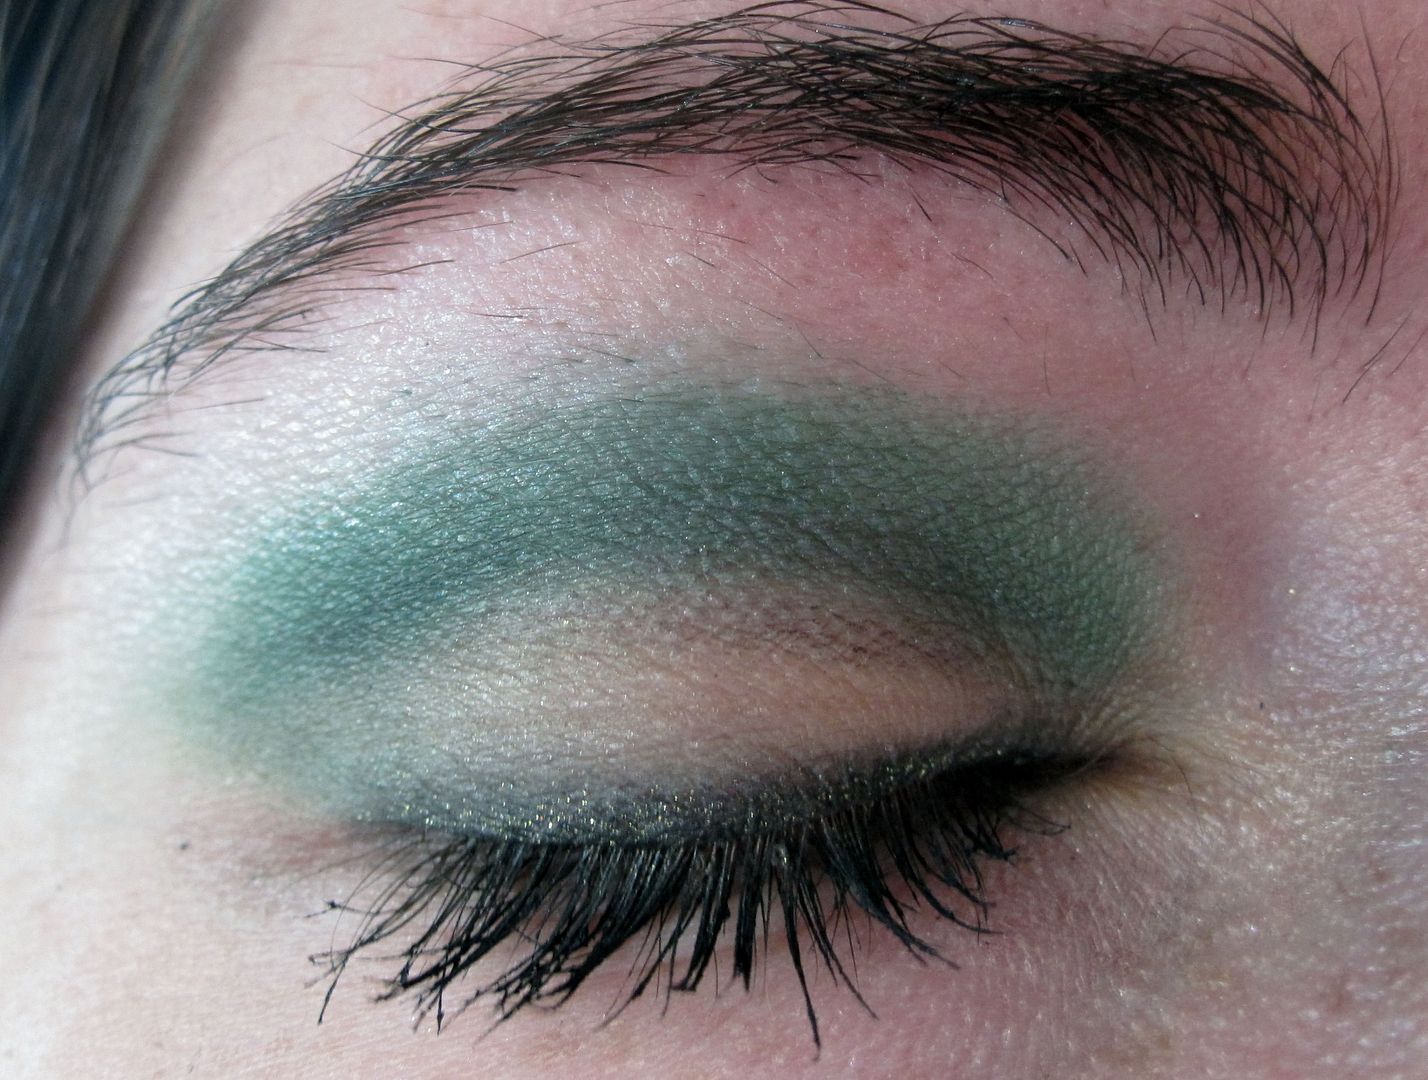
I did this look a few days ago. Wanted to use green and wanted to do a bit of a cut crease. I think it turned out ok.
- UDPP
- Coastal Scents 88 Palette (matte)
- Kat Von D - Lucifer
- Make Up For Ever Kohl Liner in 6K
- Make Up For Ever Smoky Lash in Black.
February 21, 2012
February 16, 2012
36 of 365 - Still no better...
After my failed attempt at pretty sparkly nails the other day, I decided to try it without the glitter. I wanted it to be a lil' Valentine's Day-ish so I decided on using Precious by Quo (the black based dark magenta/purple glitter colour) and Dear Diary by Sephora by OPI (light pink).
I also used the Perfect tips & toes polish guide by Nailene. Let me start by saying I just plain suck at this. I think only one nail turned out ok? The tips are uneven and blotchy. Oh, and don't forget that the stickers removed some of the nail polish as well.
The colour's not coming through very well in the pictures. The darker colour is black based with a dark magenta/pink/purple sparkle in it.
Looks like I may also fail at describing colours. Guess it's time for bed.
Have you tried the polish guides?
I also used the Perfect tips & toes polish guide by Nailene. Let me start by saying I just plain suck at this. I think only one nail turned out ok? The tips are uneven and blotchy. Oh, and don't forget that the stickers removed some of the nail polish as well.
The colour's not coming through very well in the pictures. The darker colour is black based with a dark magenta/pink/purple sparkle in it.
Looks like I may also fail at describing colours. Guess it's time for bed.
Have you tried the polish guides?
35 of 365 - Brush Protector - FAIL
We spend so much money on our brushes, it only makes sense that we want to protect them to prolong their life.
I've seen these online from another company, but didn't feel like spending the money to order online. So when I seen that Sephora had their own, Sephora Collection Brush Protector, I wanted to try them out.
What's it say? "Protects, preserves and extends the life of your expensive brushes after washing and during travel. Allows you to try your makeup brushes the easy and right way"
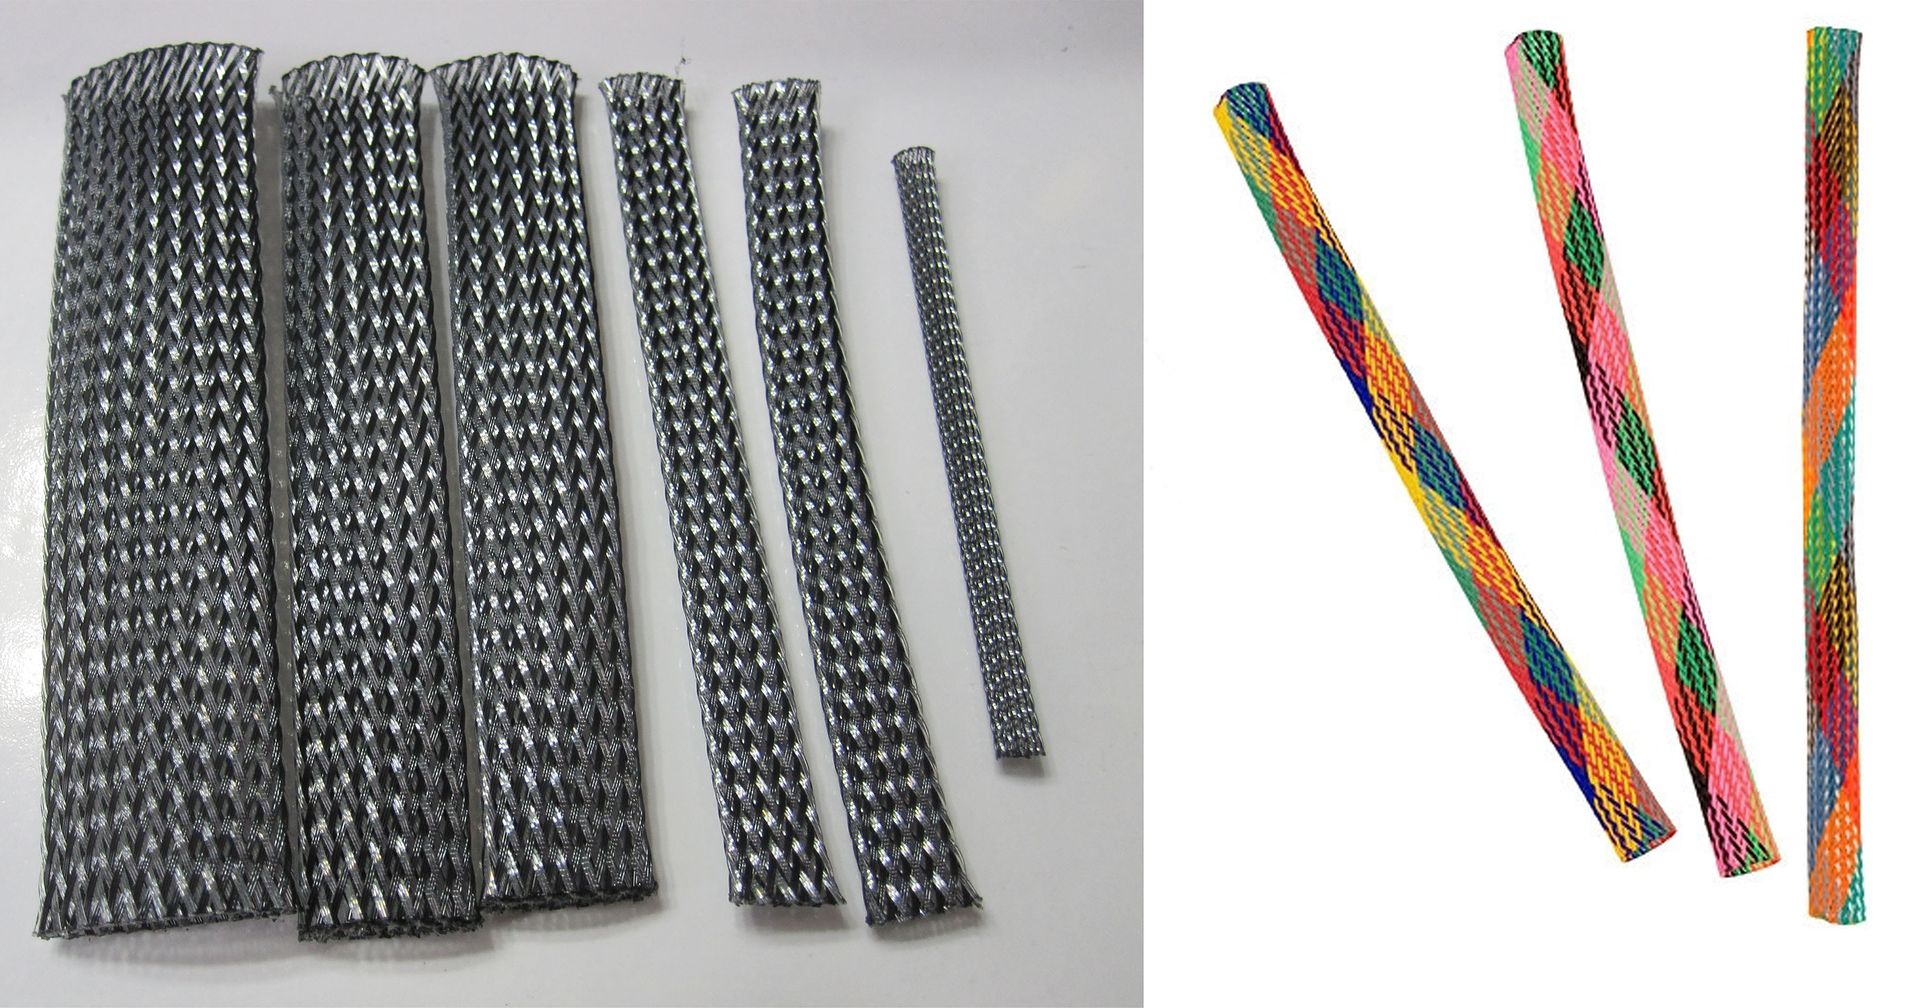
I bought a pack for $10 CAD. Each pack contains a protector for 1 Powder/ Kabuki, 2 Foundation, 2 blush and 1 shadow/liner. They look like Chinese finger traps.
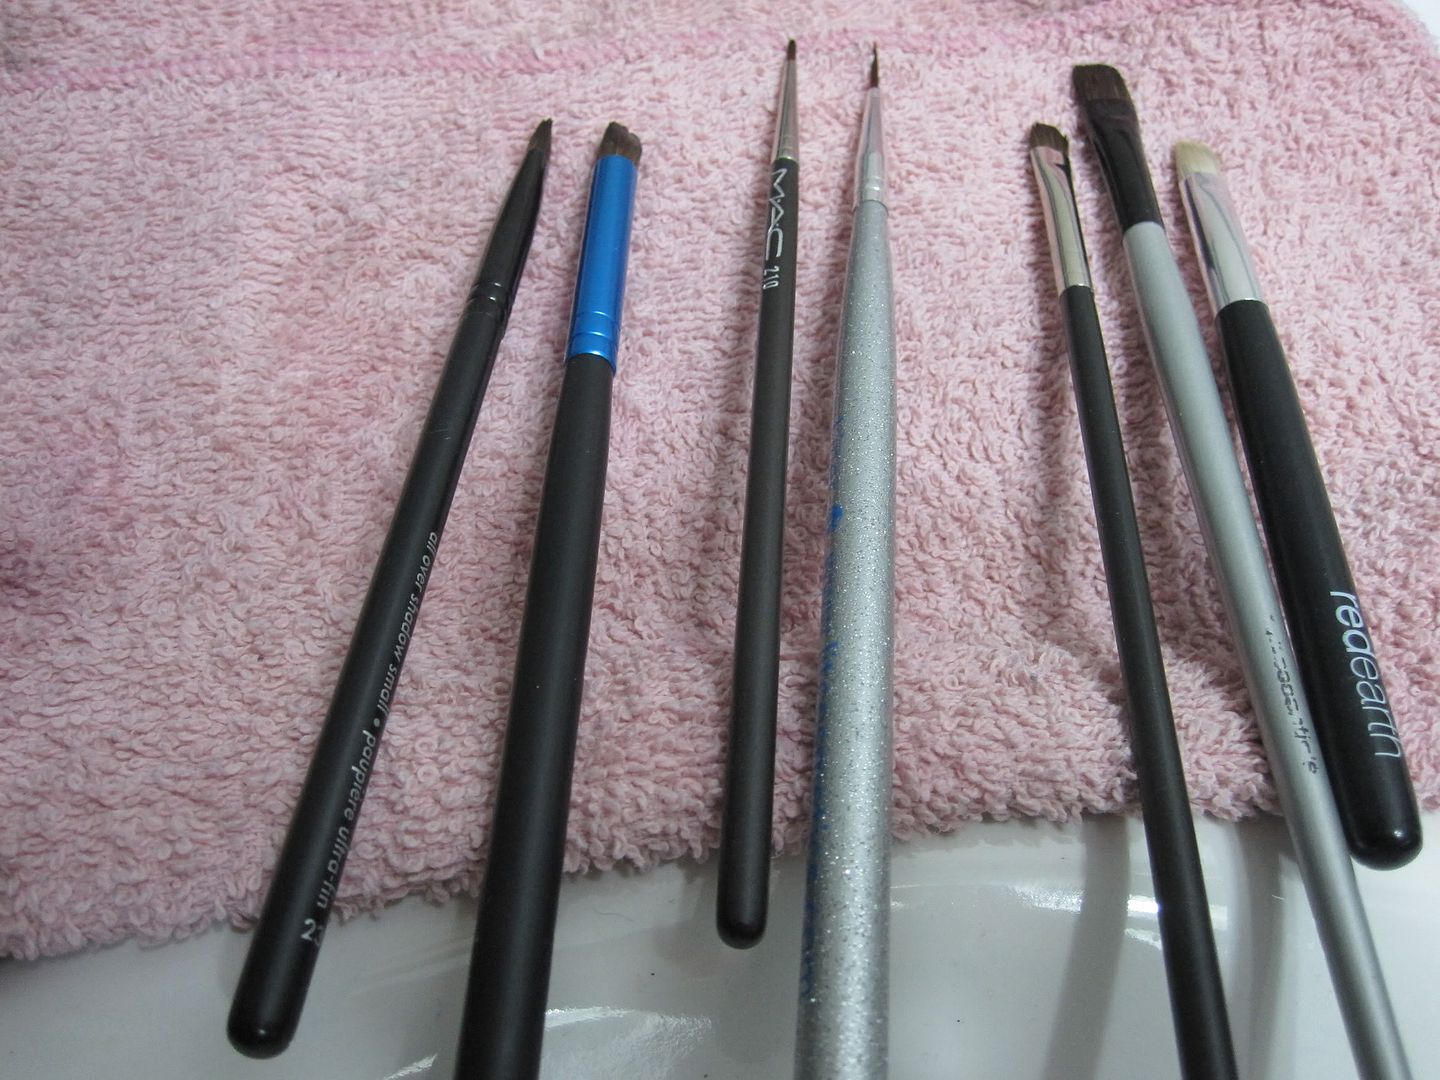
I'll be honest here, I don't know about you guys, but I don't use two foundation brushes. and the size for the foundation protectors it good for the blush. So, 1 poweder/kabuki - ok. 2 foundation/blush- ok. 2 blush - think these could be slightly smaller for the shadow brushes. That's what most of us use multiples of! That single shadow/liner protector? While my MAC 210 brush doesn't have any damage, I slid the protector on and it wouldn't do anything to the brush as it doesn't really hug the brush part. Fits nicely on the handle, that's about it. It's a smaller/thinner handle than most brushes, so I don't see this one working well with shadow brushes.
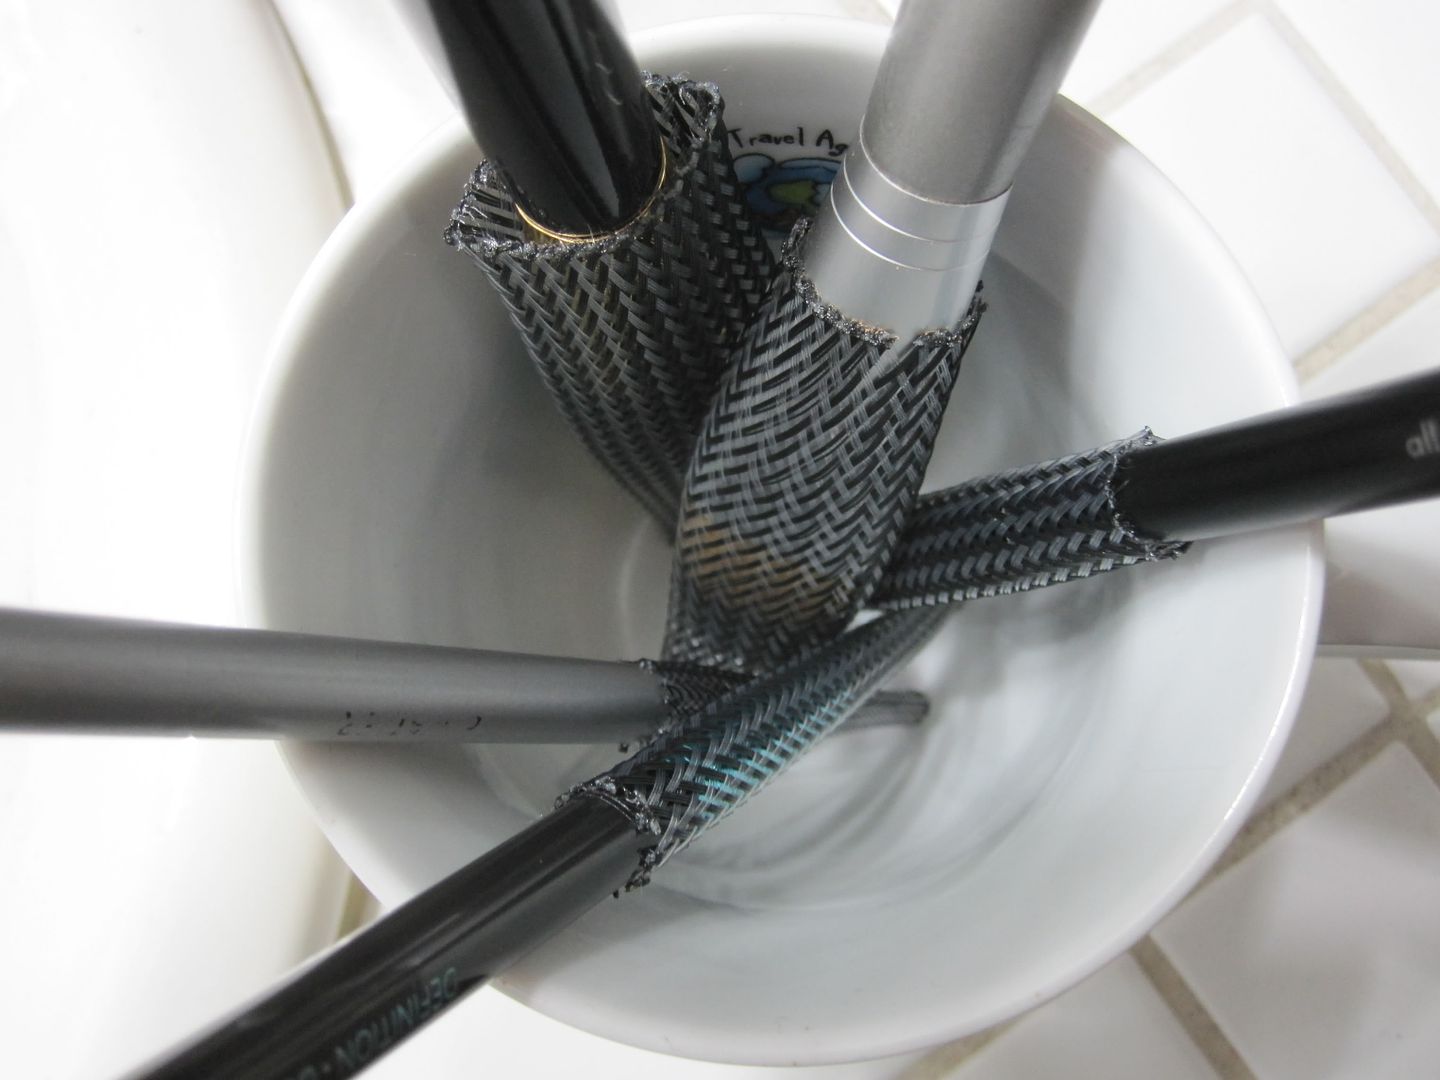
So I tried them anyways. The one nice thing is that once your brush is in the protector, you can stand it up (brush facing down) so that the water doesn't seep into the ferrule (that metal piece that holds the brush to the handle) so that it doesn't loosen the glue over time.
When I clean my brushes, I usually have them sitting on an angle to dry to avoid the water getting into the ferrule.
The outcome? 10 hours later, my foundation brush is still damp and my blush/powder brush is still quite wet. I'd say for bigger/thicker brushes, it doesn't allow proper breathing therefore doesn't dry as quickly.
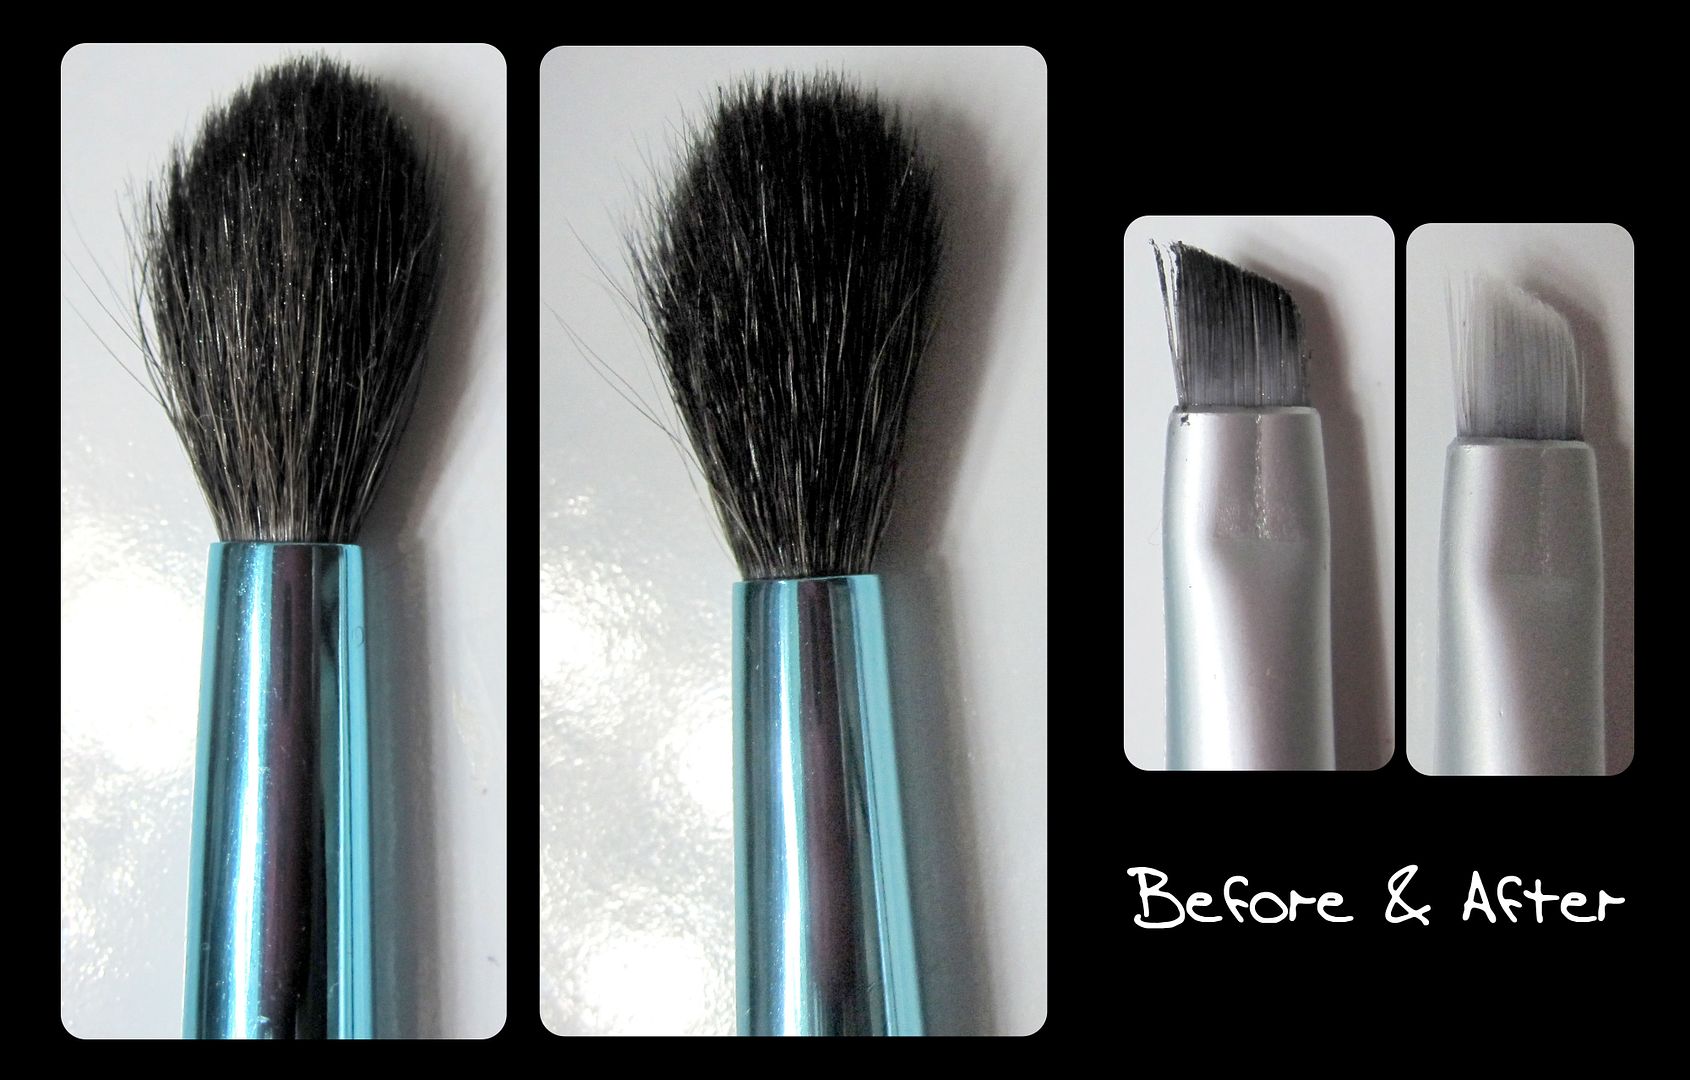
Protect? Preserve? See my before and after photo of the crease brush and my angled liner brush below. The bristles are starting to scatter a little and it didn't do anything.
Overall? I would NOT buy these again. They made no difference, some of my brushes took longer to clean and sizes weren't good for what I have.
I've seen these online from another company, but didn't feel like spending the money to order online. So when I seen that Sephora had their own, Sephora Collection Brush Protector, I wanted to try them out.
What's it say? "Protects, preserves and extends the life of your expensive brushes after washing and during travel. Allows you to try your makeup brushes the easy and right way"
I bought a pack for $10 CAD. Each pack contains a protector for 1 Powder/ Kabuki, 2 Foundation, 2 blush and 1 shadow/liner. They look like Chinese finger traps.
| Left: Sephora Collection Brush Protector, Right: Chinese finger traps |
I'll be honest here, I don't know about you guys, but I don't use two foundation brushes. and the size for the foundation protectors it good for the blush. So, 1 poweder/kabuki - ok. 2 foundation/blush- ok. 2 blush - think these could be slightly smaller for the shadow brushes. That's what most of us use multiples of! That single shadow/liner protector? While my MAC 210 brush doesn't have any damage, I slid the protector on and it wouldn't do anything to the brush as it doesn't really hug the brush part. Fits nicely on the handle, that's about it. It's a smaller/thinner handle than most brushes, so I don't see this one working well with shadow brushes.
So I tried them anyways. The one nice thing is that once your brush is in the protector, you can stand it up (brush facing down) so that the water doesn't seep into the ferrule (that metal piece that holds the brush to the handle) so that it doesn't loosen the glue over time.
When I clean my brushes, I usually have them sitting on an angle to dry to avoid the water getting into the ferrule.
The outcome? 10 hours later, my foundation brush is still damp and my blush/powder brush is still quite wet. I'd say for bigger/thicker brushes, it doesn't allow proper breathing therefore doesn't dry as quickly.
Protect? Preserve? See my before and after photo of the crease brush and my angled liner brush below. The bristles are starting to scatter a little and it didn't do anything.
Overall? I would NOT buy these again. They made no difference, some of my brushes took longer to clean and sizes weren't good for what I have.
February 15, 2012
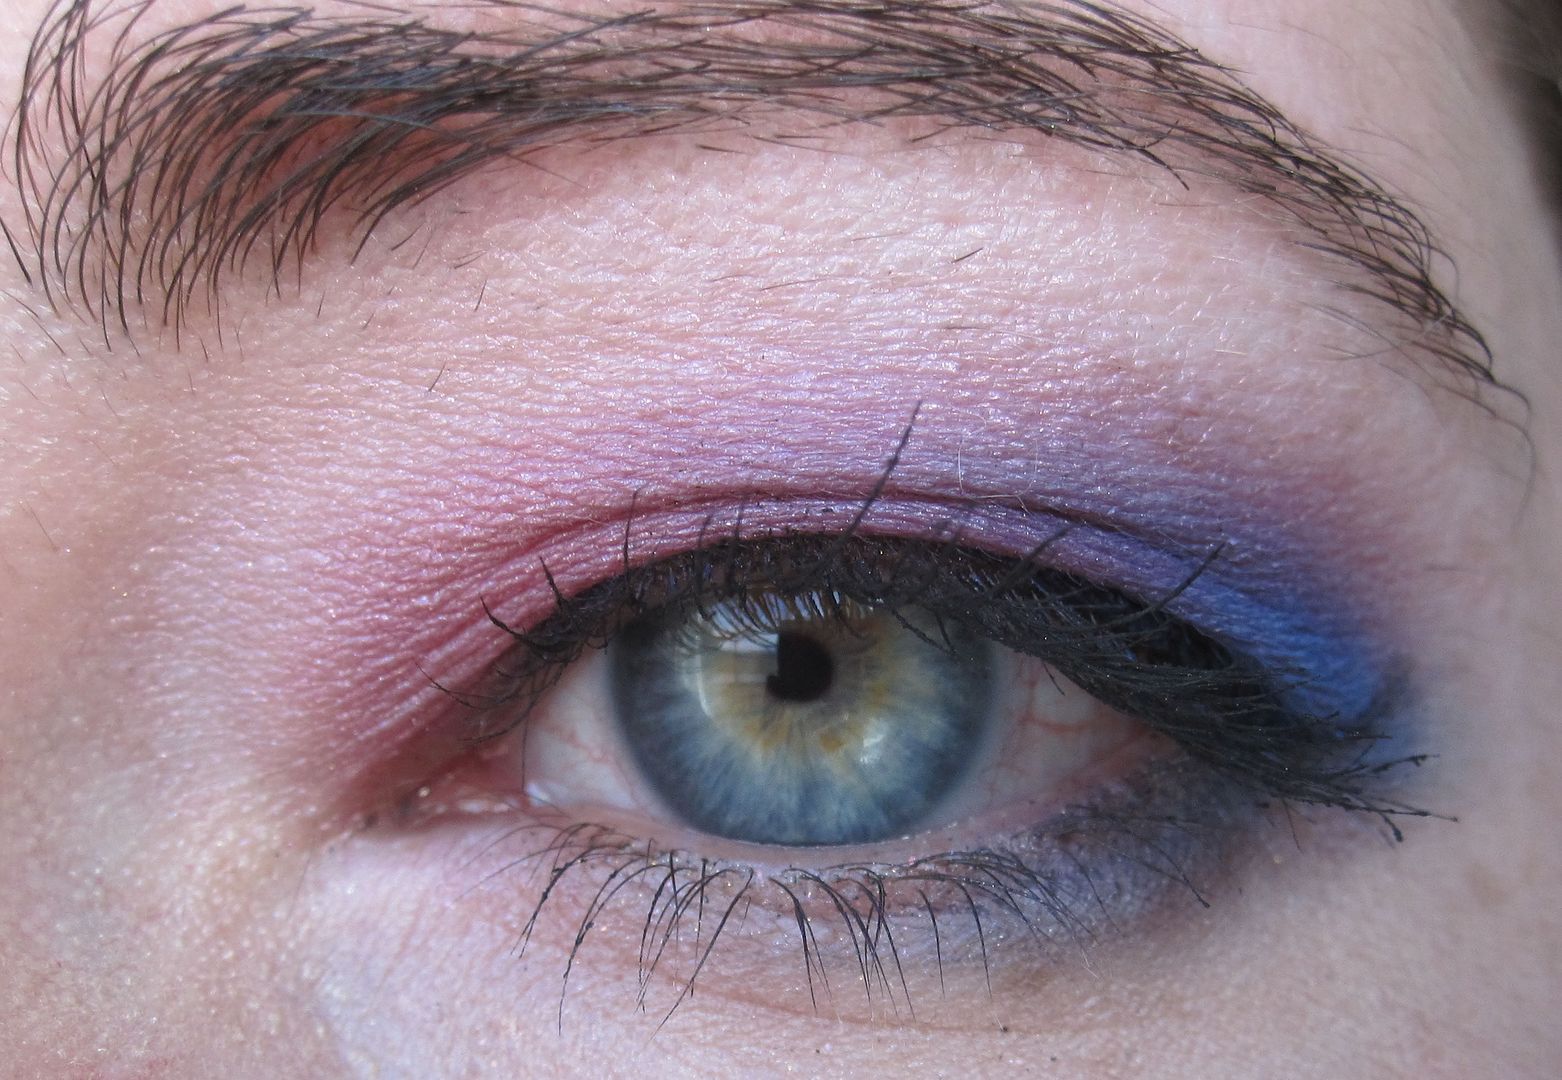
34 of 365 - Soft Look
Me & the camera are in a love/hate relationship right now. Seems like the past few days it's been the hate stage. Today though, mostly the love stage! Was successful in taking several good full-face pics, that I actually had a really hard time deciding which I wanted to post!
Now that Valentine's day is behind us, I wanted to do something soft and pretty.
Eyes:
- UDPP
- Urban Decay eyeshadow in X
- Kat Von D eyeshadow in Shiba (true love palette)
- Urban Decay 24/7 Eyeliner in Bourbon
- Make Up For Ever Smoky Lash in black
Face:
- LancĂ´me La Base Perfecting Makeup Primer
- Tarte's Smooth Operator Amazonian Clay Waterproof Concealer - Light (mouthful!)
- Stila Illuminating Liquid Foundation - 20 Watts
- Nars Illuminator in Orgasm
- Nars Blush in Orgasm
- Lise Water Magnifix
Now that Valentine's day is behind us, I wanted to do something soft and pretty.
| natural light through the window |
| lightbulb light |
Eyes:
- UDPP
- Urban Decay eyeshadow in X
- Kat Von D eyeshadow in Shiba (true love palette)
- Urban Decay 24/7 Eyeliner in Bourbon
- Make Up For Ever Smoky Lash in black
Face:
- LancĂ´me La Base Perfecting Makeup Primer
- Tarte's Smooth Operator Amazonian Clay Waterproof Concealer - Light (mouthful!)
- Stila Illuminating Liquid Foundation - 20 Watts
- Nars Illuminator in Orgasm
- Nars Blush in Orgasm
- Lise Water Magnifix
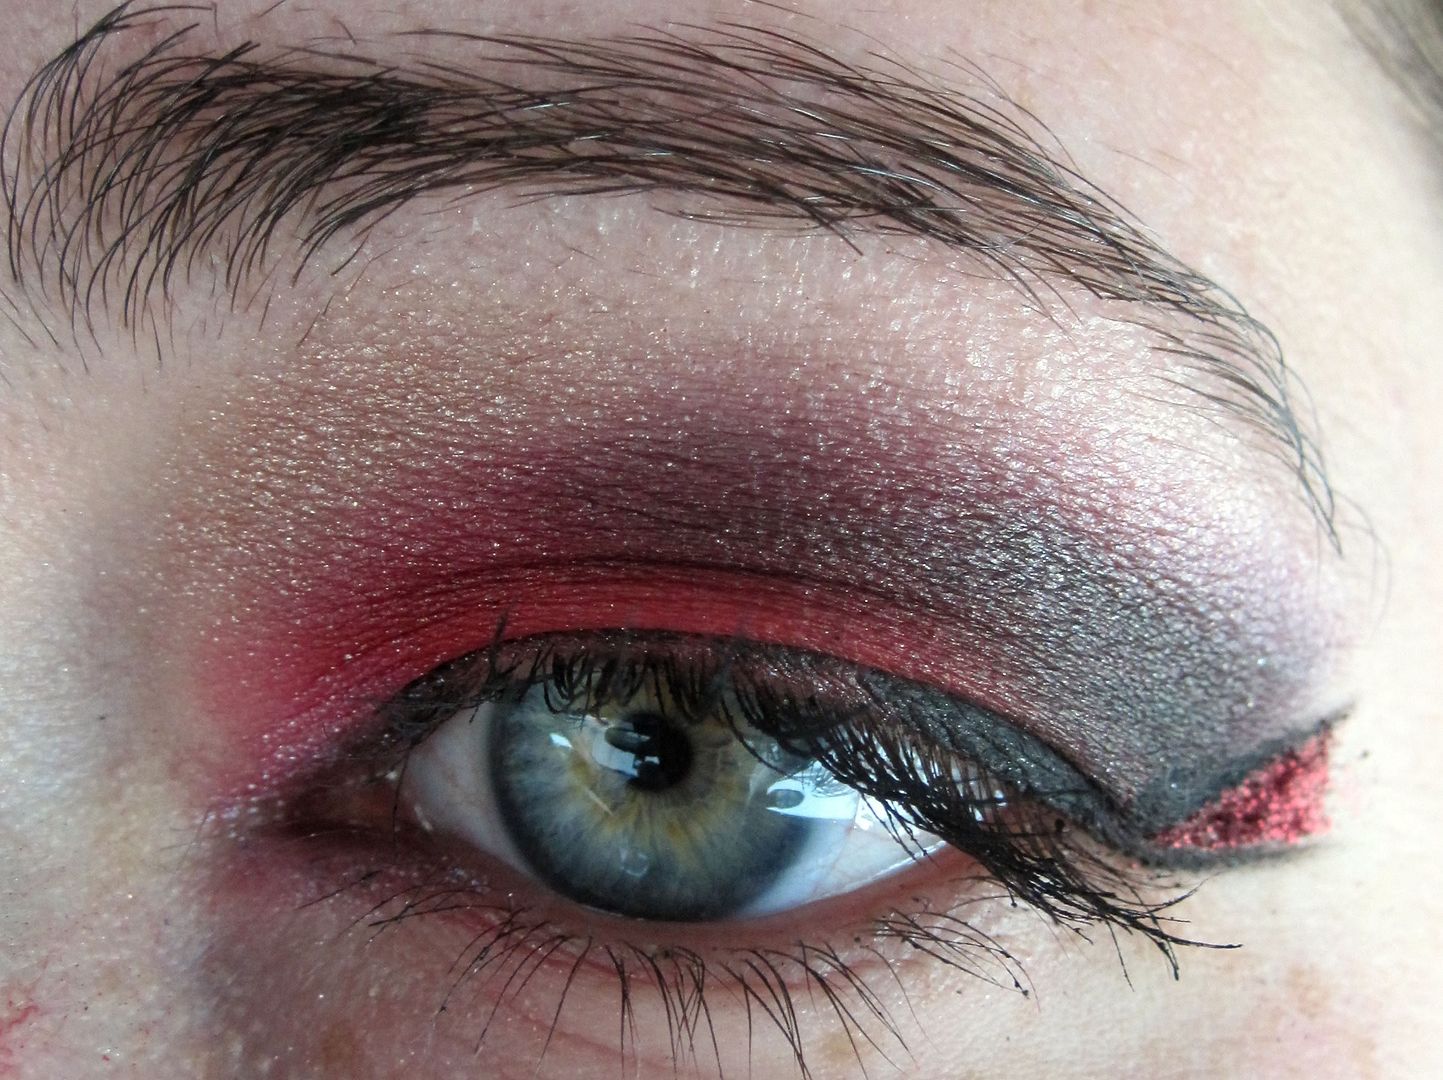
33 of 365 - Evil Valentine
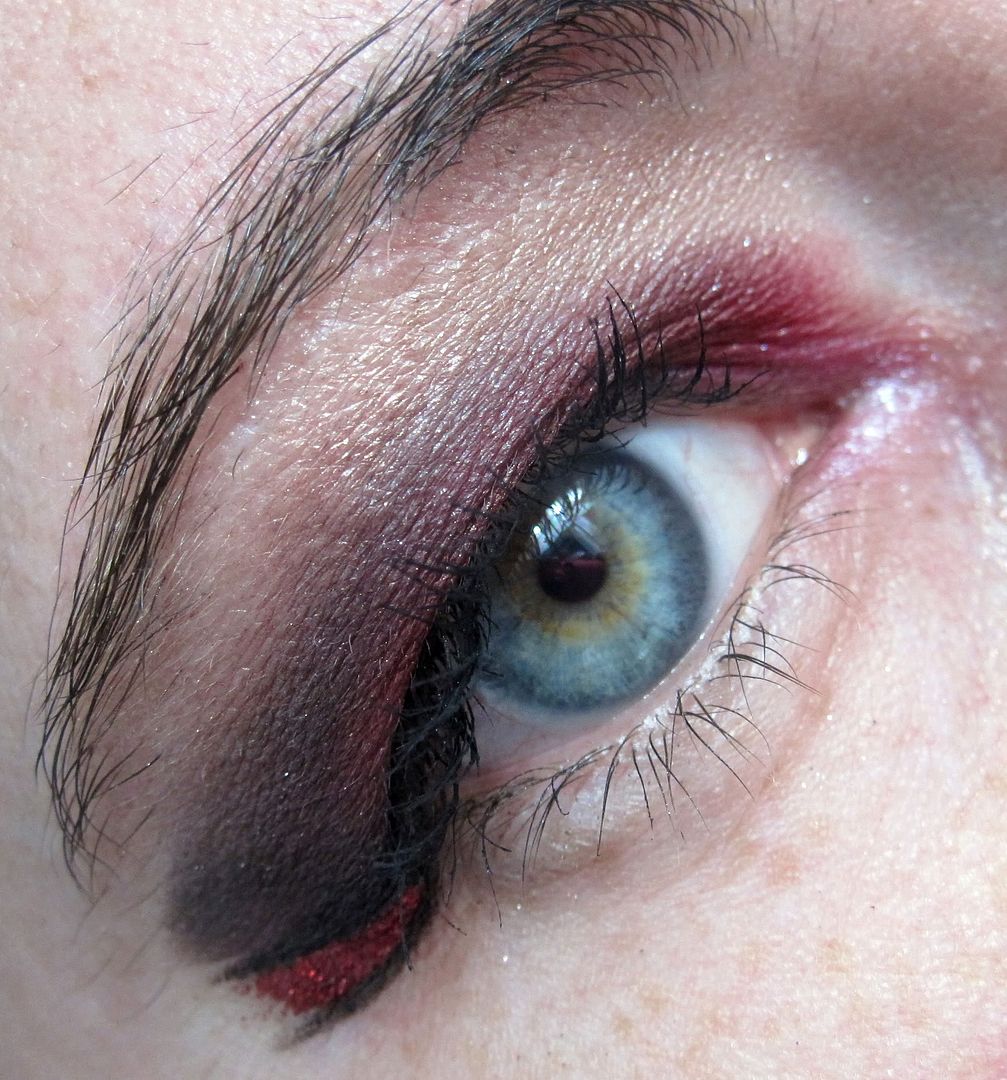
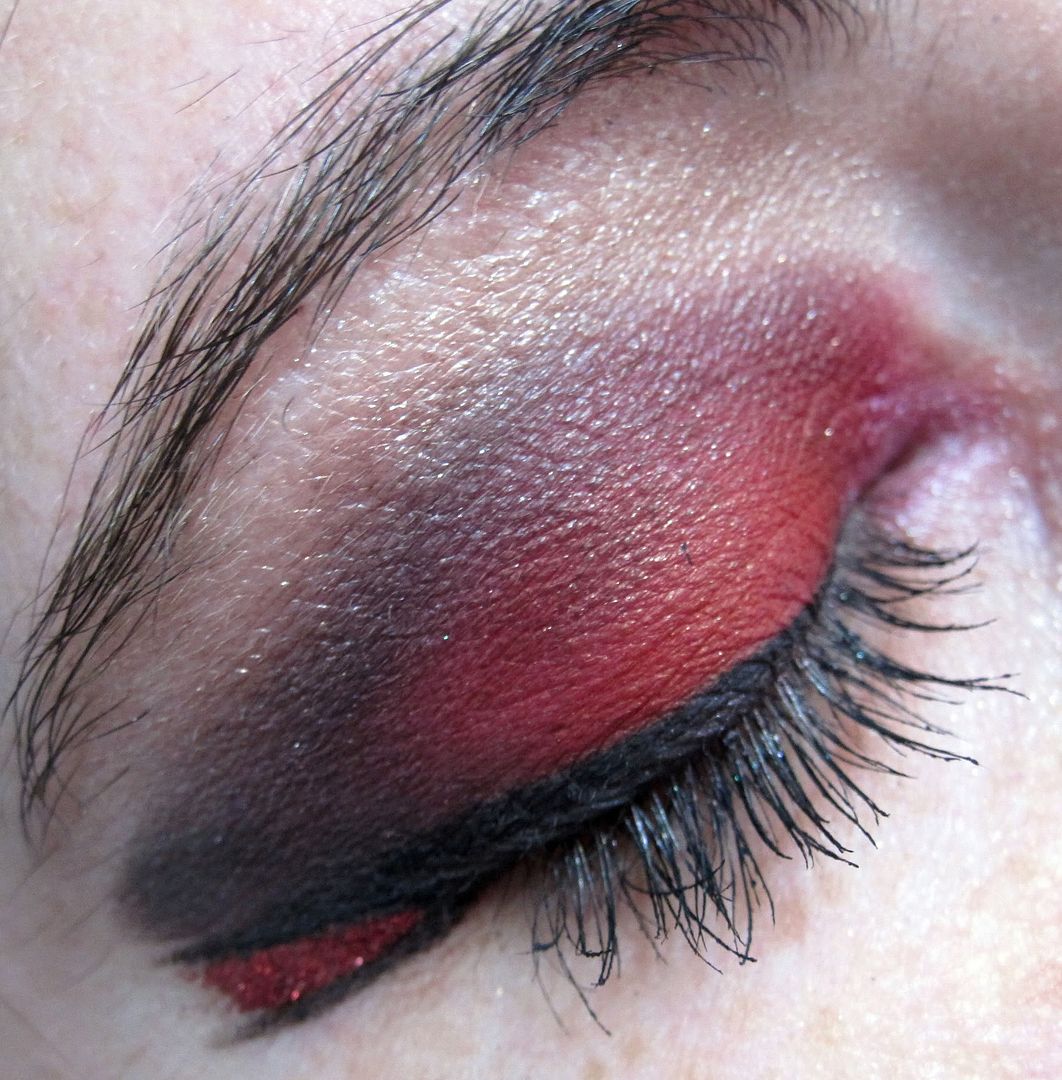
I wasn't feeling the girly Valentine's Day makeup. So I went for something a little dark. I'm not 100% sure if I like it. I did at first, but as the day went on, I don't know. Maybe it's because the tiredness got to me later in the day and I didn't have makeup to hid the tiredness? Who knows.
What do you think?
- UDPP
- Make Up For Ever Pure Pigment in No. 6
- Kat Von D eyeshadow in Lucifer
- Smashbox Jet Set Waterproof eyeliner in Midnight Black
- Lit Cosmetics glitter in Kiss (size 2)
- Make Up For Ever Smoky Lash mascara in black.
What do you think?
- UDPP
- Make Up For Ever Pure Pigment in No. 6
- Kat Von D eyeshadow in Lucifer
- Smashbox Jet Set Waterproof eyeliner in Midnight Black
- Lit Cosmetics glitter in Kiss (size 2)
- Make Up For Ever Smoky Lash mascara in black.
February 14, 2012
32 of 365 - Florida Sunset
I've never been to Florida, but when I got to work, one of my colleagues said that my eyes reminded her of a Florida sunset.
I just needed to brighten things up a bit. Weather's just blah lately. Not particularly freezing, but not exactly warm either. It's just been those blah overcast days.
- UDPP
- Kat Von D eyeshadow in No Regrets
- Kat Von D eyeshadow in Drama For Yo Mama
- Kat Von D eyeshadow in Mad Max
- Smashbox Jet Set Waterproof eyeliner in Midnight Black
- Kat Von D Autograph Liner in Wonderchild (on top of the black)
- Tarte's Lights, Camera, Lashes! Mascara
I just needed to brighten things up a bit. Weather's just blah lately. Not particularly freezing, but not exactly warm either. It's just been those blah overcast days.
- UDPP
- Kat Von D eyeshadow in No Regrets
- Kat Von D eyeshadow in Drama For Yo Mama
- Kat Von D eyeshadow in Mad Max
- Smashbox Jet Set Waterproof eyeliner in Midnight Black
- Kat Von D Autograph Liner in Wonderchild (on top of the black)
- Tarte's Lights, Camera, Lashes! Mascara
31 of 365 - Naked 2 vs Naked 1
I casually walked into my local Sephora store while wasting some time before an appointment. When I turned the corner, there's a stack of Urban Decay Naked 2 palettes! For a while, I didn't think I was going to get it. But seeing it there in the store and knowing how crazy the original Naked craze was, I wasn't going to sit there and debate. And it's a good thing too. As I was leaving, I started talking to one of the girls that's there almost every time I go in. They just put it on the shelves the night before (after closing) and they were not going to operate a wait list! Good timing on my part :)
So, I want to compare the two a little for you, with my focus being on Naked 2 since that is the new one. I'm sure you've already read this plenty of times on other blogs, but maybe you like more opinions. Or maybe I'll go over something that they didn't. Who knows. Either way, I hope you enjoy!
1 - Packaging
So, I want to compare the two a little for you, with my focus being on Naked 2 since that is the new one. I'm sure you've already read this plenty of times on other blogs, but maybe you like more opinions. Or maybe I'll go over something that they didn't. Who knows. Either way, I hope you enjoy!
1 - Packaging
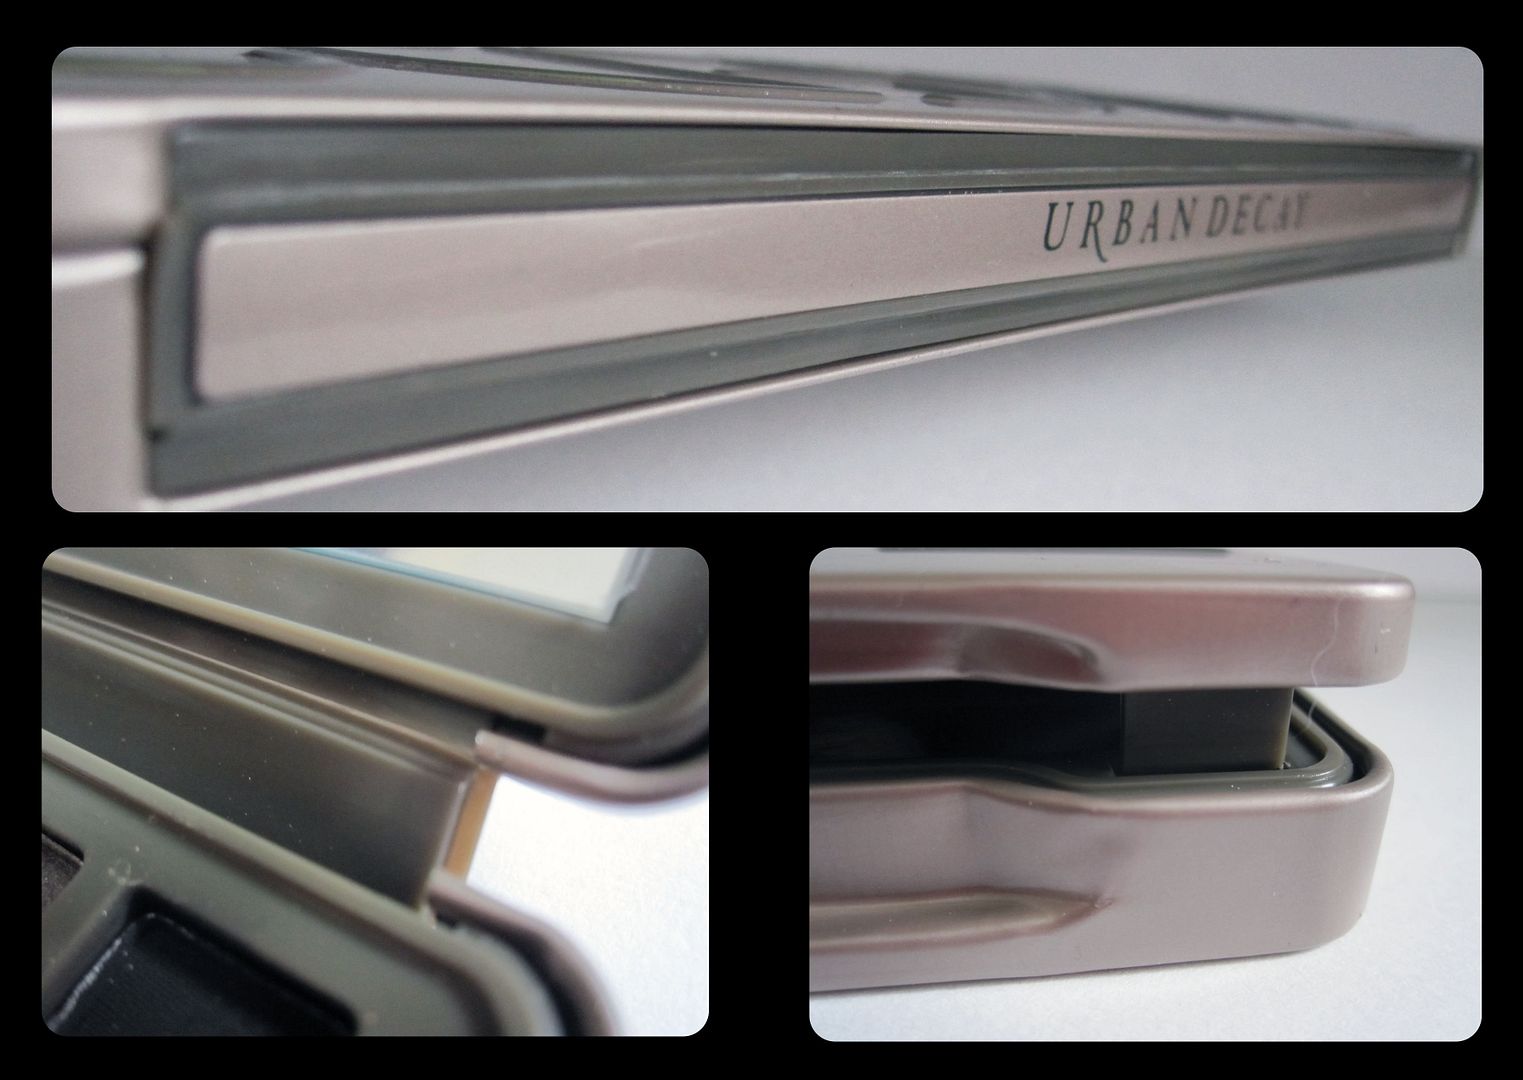
Naked 2: tin case like the oldschool art cases we (at least I) used to own. The lettering is raised. I like the sturdyness to this style of packaging, however I feel like it may break. There are no hinges (which probably would have been better). Instead, the back piece that folds when you open/close it is plastic. It also has two little stub-like pieces that go into the case when you close it. While I haven't heard of anyone who's broken the case yet, this style of plastic used to break off my cases all the time when I was younger.
Naked 1: made of durable cardboard with velvet on the exterior and the letters printed in gold foil. Closes using a strong (but not crazy) magnet. Doesn't stay open quite as well as Naked 2, however don't think it would break either. The velvet's kind of annoying as fluff and dust accumulates on it.
Overall: They both have pro's & cons about them. If it was a tin case with hinges & magnet closure, it'd be a win for me!
2 - Extras
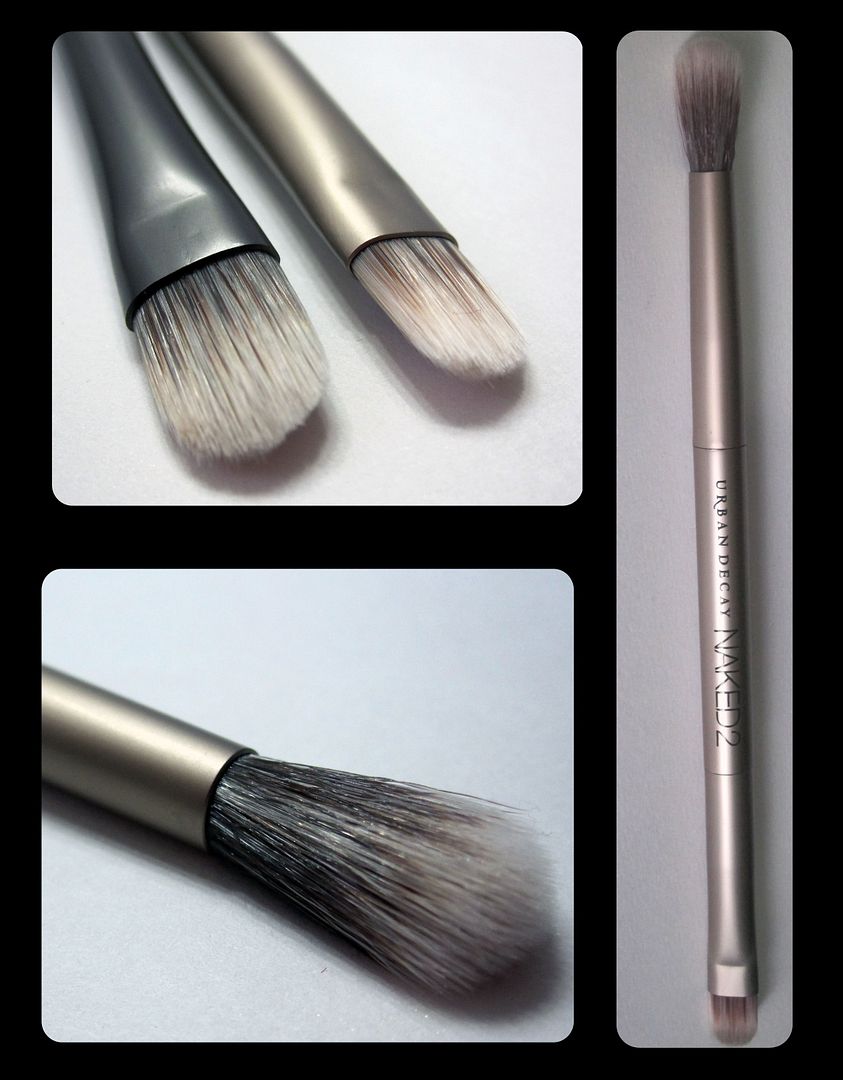
Naked 2: In the tin you get a double ended brush, the Good Karma Shadow/Crease Brush. I personally do not like the shadow end of the brush at all. In my opinion, it's more of a concealer brush than a shadow brush. I like the crease end.
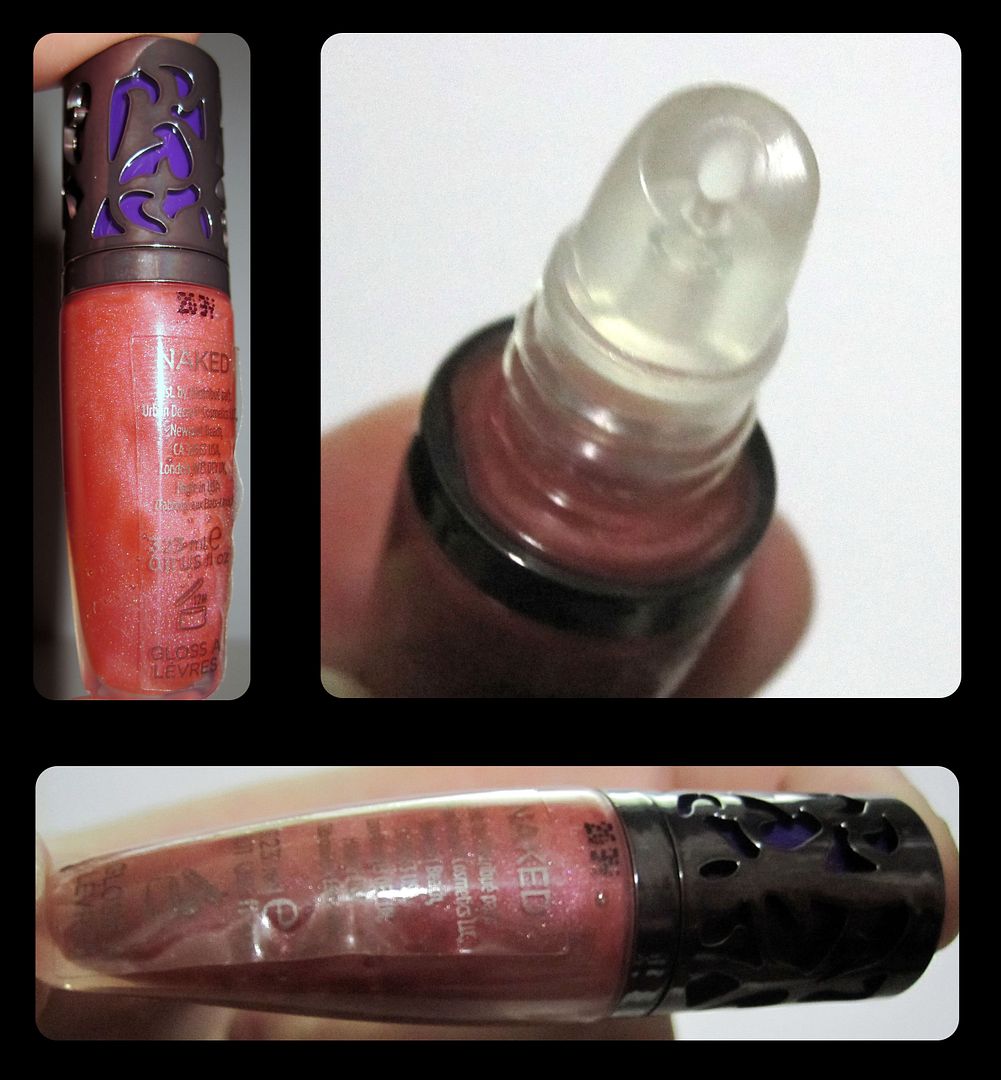
You also get a mini Lip Junkie gloss in Naked which is a neutral pink. It's a nice change from a mini Potion Primer. The label on my gloss was not only off-centered, but it also wasn't pressed down smoothly. When I purchased the palette, the Sephora rep asked if she could open up the package to make sure that I had the brush - apparently a store in Toronto has reported that some of them didn't have a brush. So, that combined with the label on my gloss makes me think that Urban Decay was trying to get as many palettes out the door as quickly as possible that they may have overlooked a few things once in a while.
Naked 1: In the palette, you got either the 24/7 Eyelinerin Zero (if you were in the first few batches) or like me, you probably got the Good Karma Shadow brush. The brush end is slightly bigger than the one in Naked 2, however I dislike it just as much.
With this, you also get a mini Potion Primer. I love this stuff, but I've already gotten a few of them and just gave this to a friend.
Overall: While the Primer is more useful with the eyeshadows, it's really only great for people that don't already own a bunch of them. The double ended brush & the lip gloss are more beneficial to me.
3 - The colours (general)
Naked 2: Most of these colours are on the cool side with a few slightly warmer colours. There are 3 matte colours (Foxy, Tease & Blackout), 1 colour that contains microglitter (chopper) and the rest are shimmery colours. Half Baked shows up in both palette which is quite disappointing. I get that it's a really nice colour, but this is the third palette I've gotten it in. Other than that, I already own Chopper & YDK. I love YDK as a quick colour when I'm not feeling well and don't want to do anything, but don't want to look like a zombie either. My faves from this one are: Tease. Snakebite, Suspect, Pistol and Verve.
From the website:
Foxy (cream bisque with matte finish)
Half Baked (golden-bronze with shimmering finish)
Booty Call (shimmering cork)
Chopper (copper shimmer with silver microglitter)
Tease (creamy pale brown with matte finish)
Snake Bite (dark bronze shimmer with metallic base)
Suspect (pale golden beige with shimmering finish)
Half Baked (golden-bronze with shimmering finish)
Booty Call (shimmering cork)
Chopper (copper shimmer with silver microglitter)
Tease (creamy pale brown with matte finish)
Snake Bite (dark bronze shimmer with metallic base)
Suspect (pale golden beige with shimmering finish)
Pistol (light gray-brown with shimmering finish)
Verve (oyster with shimmering finish)
YDK (cool bronze shimmer with metallic base)
Busted (deep brown with shimmering finish)
Blackout (blackest black with matte finish)
Naked 1: These colours are warmer. It has 2 matte (Naked & Buck) and 2 that contain glitter (Sidecar & Gunmetal). The glitter in Gunmetal isn't too bad, meanwhile Sidecar has lots of fallout. The rest of the colours are shimmery. Other than Half Baked, it has Smog which I got in another one of their palettes previously. My faves from this one: Sin, Naked, Sidecar, Darkhorse and Toasted.
From the website:
Virgin (nude satin)
Sin (champagne shimmer)
Naked (buff matte)
Sidecar (beige sparkle)
Buck (brown matte)
Half Baked (bronze)
Smog (golden brown shimmer)
Darkhorse (bronze-plum shimmer)
Toasted (taupe-bronze)
Hustle (mocha shimmer)
Creep (near-black metallic)
Gunmetal (dark grey metallic)
Virgin (nude satin)
Sin (champagne shimmer)
Naked (buff matte)
Sidecar (beige sparkle)
Buck (brown matte)
Half Baked (bronze)
Smog (golden brown shimmer)
Darkhorse (bronze-plum shimmer)
Toasted (taupe-bronze)
Hustle (mocha shimmer)
Creep (near-black metallic)
Gunmetal (dark grey metallic)
4 - The colours (similarities)
Other than Half Baked which shows up twice, there are a few colours that are very similar between the two palettes.
(I'll always list Naked 2 colour first, then Naked 1 and swatches are on bare skin - NO primer)
Up first: Blackout vs Creep
Both are black, but as you can see, Blackout is matte, great colour payoff, while creep has some metallic to it and appears a little more grey unless you build it up. (I'll always list Naked 2 colour first, then Naked 1 and swatches are on bare skin - NO primer)
Up first: Blackout vs Creep
Bootycall vs Virgin
I'll admit, it's a little hard to tell from the swatches, but Bootycall pulls more cream while Virgin is a little more pink based. Both are great colours for highlighting and you'll find yourself going for both of them for different looks.
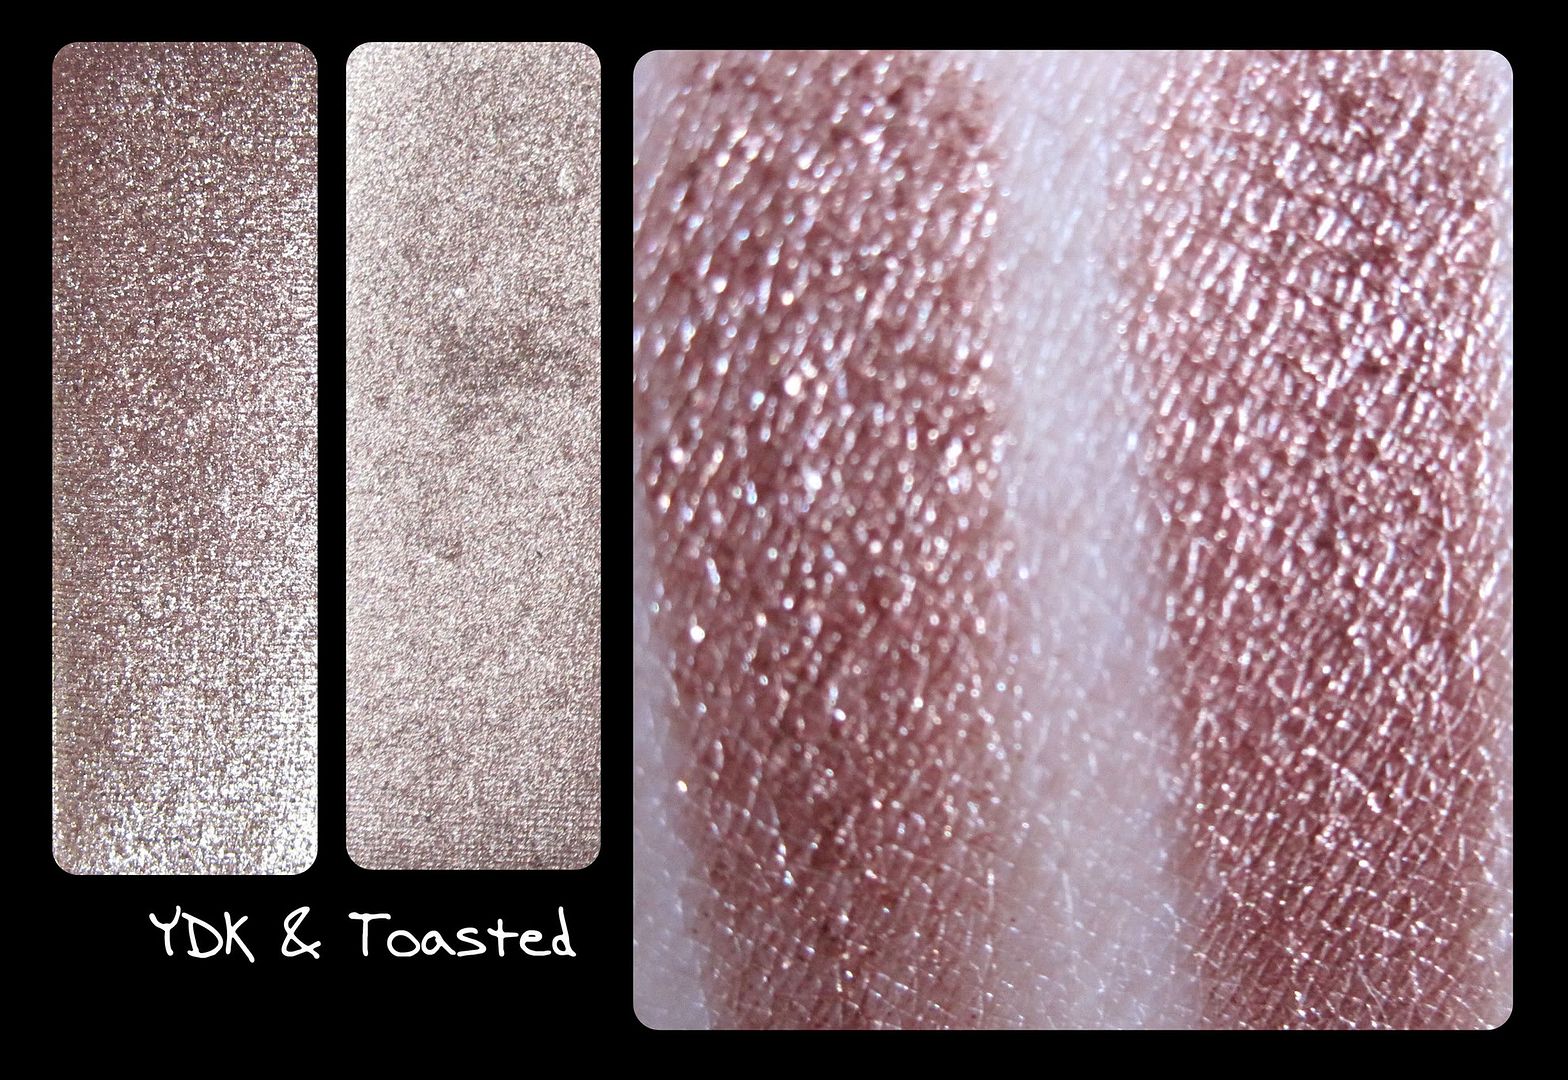
YDK vs Toasted
These two are very similar. Both pull bronze, but YDK more so than Toasted. I find Toasted pulls a little more pinky/taupe.
Busted vs Hustle
Didn't matter what I did, I couldn't crop the picture of the shadow in the pan without it looking identical or weird. So, Busted is a "deep brown with shimmering finish" while Hustle is "mocha shimmer". The descriptions are very similar and as you can see, the swatches are very similar as well. Busted is just a touch darker. But that's it.
The Verdict:
Naked 2 wins with the extras while Naked 1 wins with the packaging. That leaves the colours to the tie-breaker: Not gonna lie, I like them both equally. They are different and they can cater to different people. Or like me, a makeup junkie that fell in love with both. We'll see in a few months to see which I've reached for more often.
I leave you with some closeups and swatches from Naked 2.
| Foxy, Half Baked, Bootycall |
| Chopper, Tease, Snakebite |
| Suspect, Pistol, Verve |
| YDK, Busted, Blackout |
Please note: I bought both of these palettes with my own money. Opinions are my own.
February 13, 2012
30 of 365 - Nails: Not what I expected
So I wanted to catch up on my posts over the weekend. However, it's hard to do that when you don't have internet for almost the entire weekend! So to tie you over until I can get everything organized, here's a nail job I did this morning that did not turn out the way I hoped it would. At. All.
I bought To The Glitter End - Sephora by OPI over the weekend. Thought it would be darker... not just clear with the glitter. So before realizing this, I put a thin coat of Servin' Up Sparkle - OPI at the tips, covered my tips, then proceded with To The Glitter End on my entire nail. I had to put it on thick because of the glitter. Well, thick or thin, it was a fail. And since I did this roughly 20 minutes before I had to leave for work, I didn't have the chance to take it off. I'm doing that now. It's a pain! Nail polish remover is removing the clear polish, but not actually removing the glitter. I have to scratch that off with my nails.
Here's the failure:
Have you had any nail failures?
I bought To The Glitter End - Sephora by OPI over the weekend. Thought it would be darker... not just clear with the glitter. So before realizing this, I put a thin coat of Servin' Up Sparkle - OPI at the tips, covered my tips, then proceded with To The Glitter End on my entire nail. I had to put it on thick because of the glitter. Well, thick or thin, it was a fail. And since I did this roughly 20 minutes before I had to leave for work, I didn't have the chance to take it off. I'm doing that now. It's a pain! Nail polish remover is removing the clear polish, but not actually removing the glitter. I have to scratch that off with my nails.
Here's the failure:
Have you had any nail failures?
February 08, 2012
29 of 365 - 2-4-1 Special
We all like products that do double duty. An eyeshadow that can be used as liner or as a blush or a lip balm that you can use as brow wax or on dry cuticles & elbows.
Now, while this shadow isn't quite as double duty as the stuff mentioned about, you can get two looks out of it. The look below has only one shadow used. The colour you see on the lid and the colour you see in the crease, they're the same. I just foiled the lid. Foiling is simply, using the product wet. Some people like using water or, like me, like using a mixing medium such as List Watier's Métamorphix.
I just wanna say that this idea wasn't completely my own. I recently seen a fellow blogger do this with another eyeshadow from a different brand.
- UDPP
- Urban Decay shadow in Lounge
- Make Up For Ever Kohl Liner Pencil in 6k
- Make Up For Ever Smoky Lash in Black
Now, while this shadow isn't quite as double duty as the stuff mentioned about, you can get two looks out of it. The look below has only one shadow used. The colour you see on the lid and the colour you see in the crease, they're the same. I just foiled the lid. Foiling is simply, using the product wet. Some people like using water or, like me, like using a mixing medium such as List Watier's Métamorphix.
I just wanna say that this idea wasn't completely my own. I recently seen a fellow blogger do this with another eyeshadow from a different brand.
- UDPP
- Urban Decay shadow in Lounge
- Make Up For Ever Kohl Liner Pencil in 6k
- Make Up For Ever Smoky Lash in Black
February 07, 2012
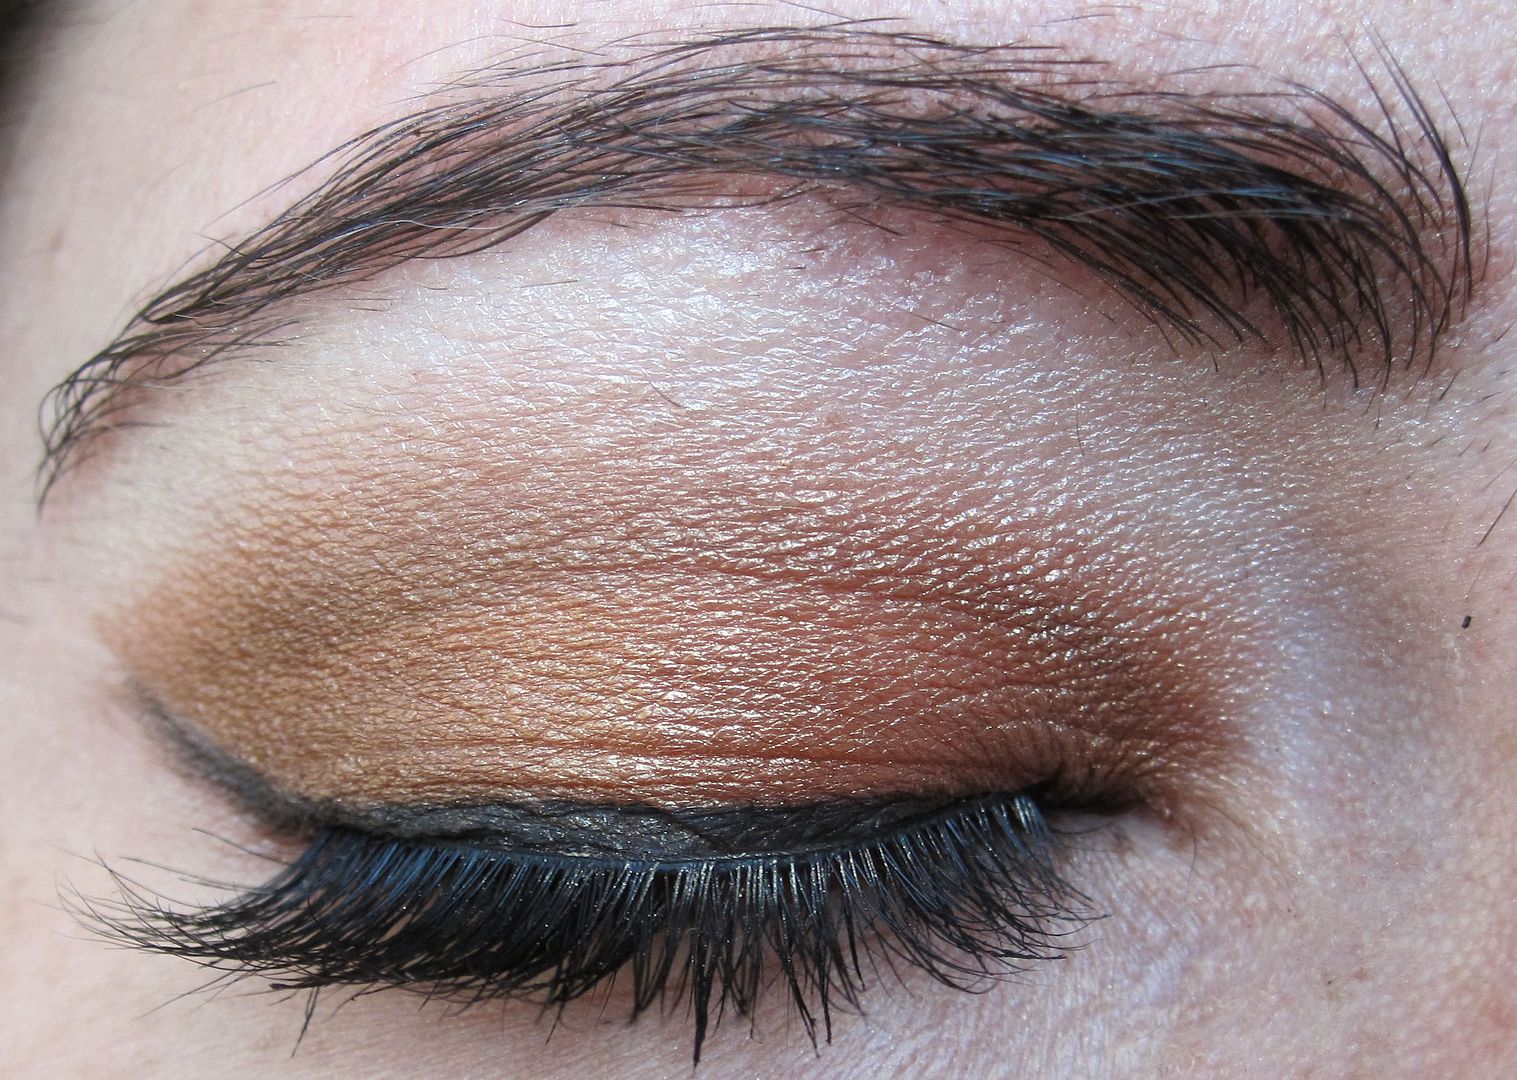
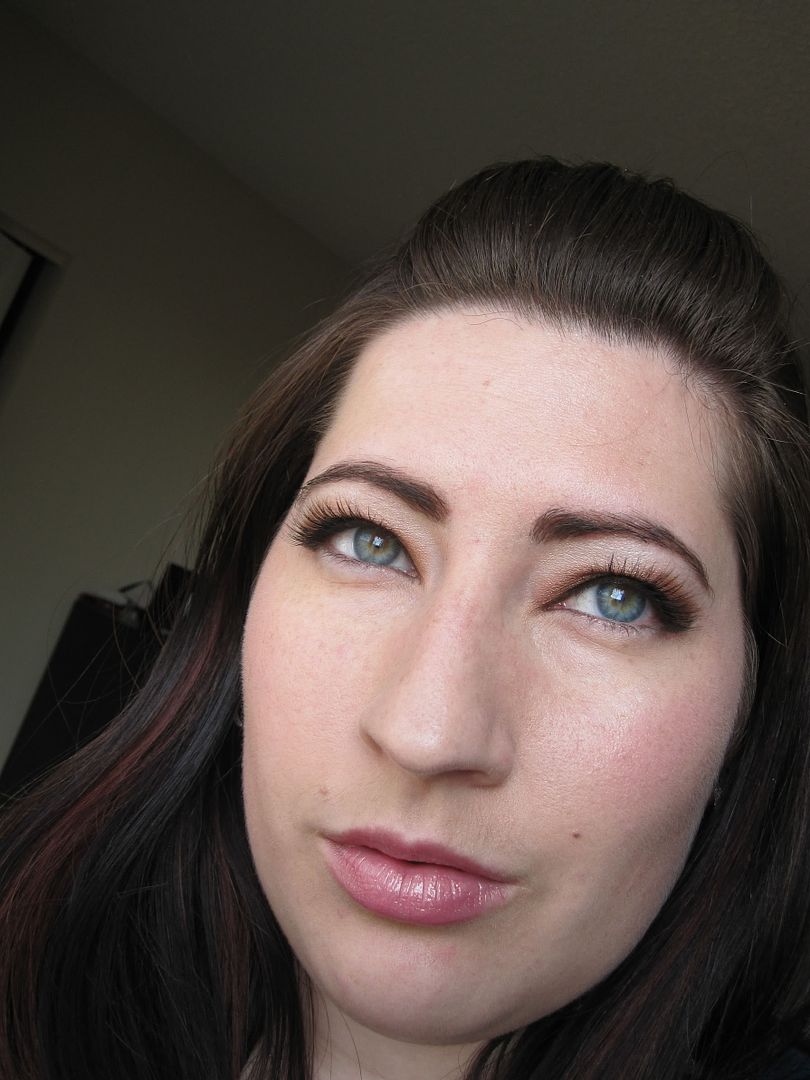
28 of 365 - Orangey Gold
Still feeling a little neutral, but so tired of it! I decided to spruce it up a bit with some nice lashes and go a little more gold. This was the outcome!
- UDPP
- Make Up For Ever eyeshadow in Orange Coral Matte 5
- Urban Decay eyeshadow in Baked
- Kat Von D eyeshadow in Baroque
- Smashbox Jetset waterproof eye liner in Midnight Black
- Velour Lashes in You Complete Me
- UDPP
- Make Up For Ever eyeshadow in Orange Coral Matte 5
- Urban Decay eyeshadow in Baked
- Kat Von D eyeshadow in Baroque
- Smashbox Jetset waterproof eye liner in Midnight Black
- Velour Lashes in You Complete Me
February 05, 2012
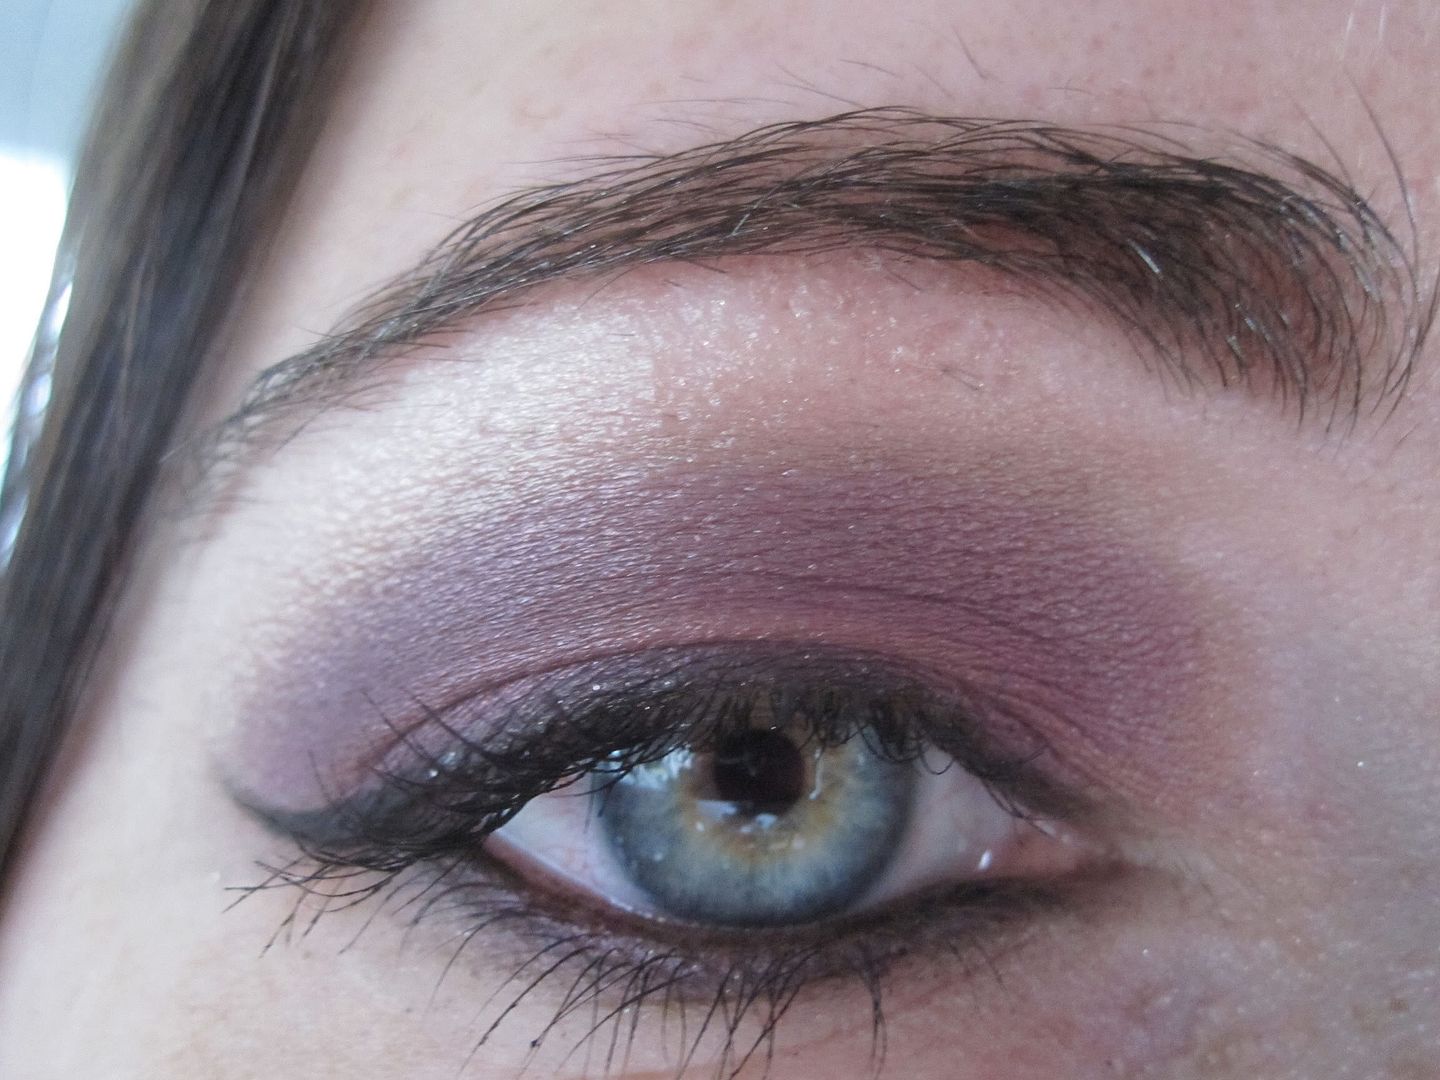
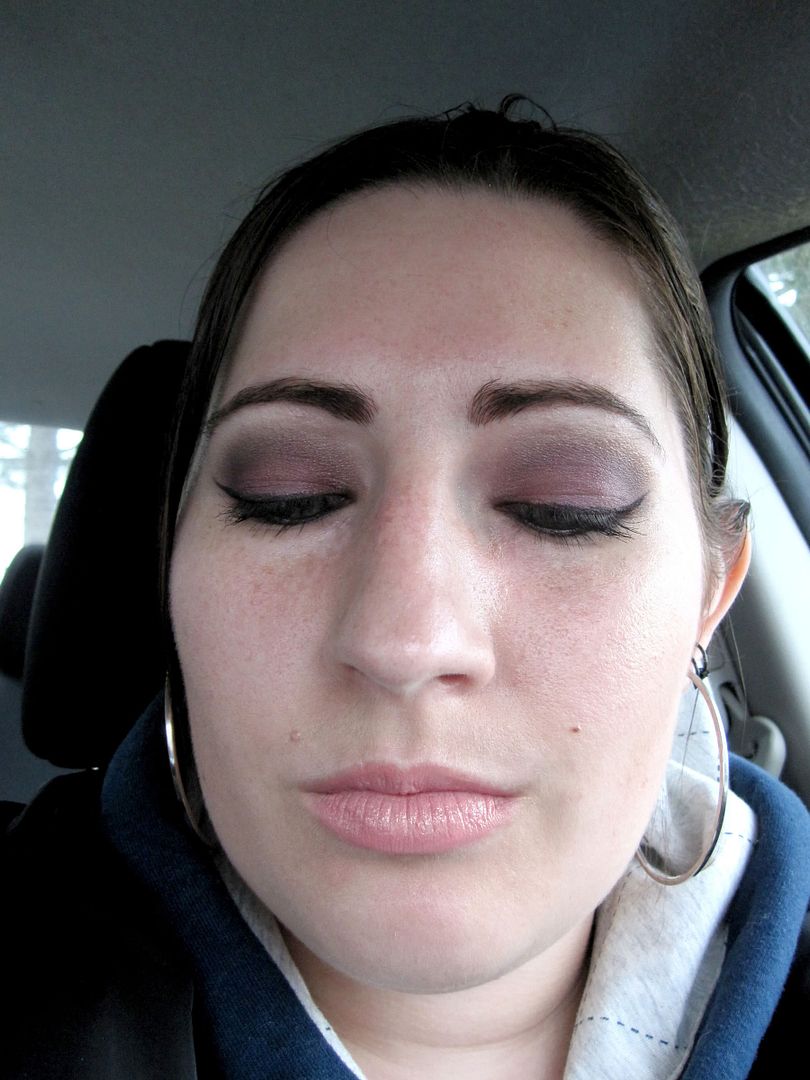
27 of 365 - Colours for a friend
My friend asked me to try to replicate a sample colour she got from Mary Kay: Sweet Plum.
So while I leave it up to her if she thinks I did a great job at it or not, I leave you with a few pics I took using my colour. Both colours were made by me, however the lighter one (all over the lid) is the one that's meant as the dupe.
Used over Urban Decay Potion Primer
So while I leave it up to her if she thinks I did a great job at it or not, I leave you with a few pics I took using my colour. Both colours were made by me, however the lighter one (all over the lid) is the one that's meant as the dupe.
| completely un-edited. Just shows what the camera sometimes does with an illuminating foundation. |
Used over Urban Decay Potion Primer
February 02, 2012
26 of 365 - Snakebite
Didn't want to go too plain, but still wasn't feeling in the mood for colours. Must be this darn winter! Sorry for the last picture - full face pictures were not working well, so it worked better if I made slightly funny faces :)
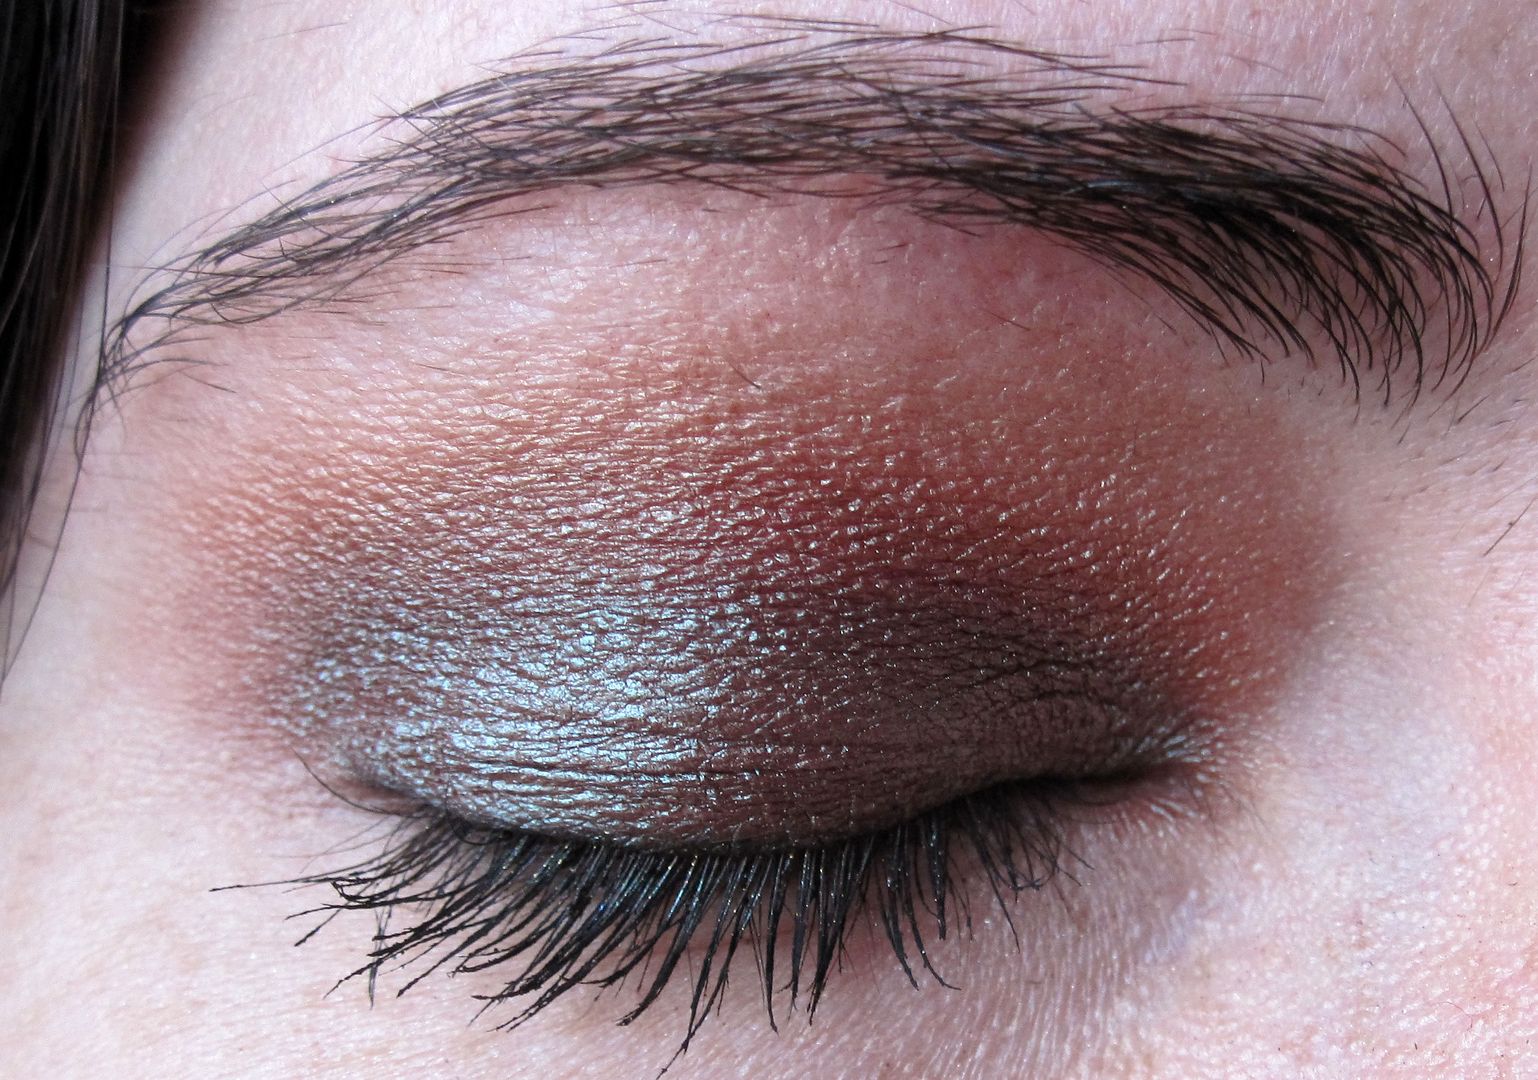
I used
- UDPP
- Urban Decay Snakebite
- Tarte SmolderEyes Amazonian clay waterproof eyeliner in Silver Black
- Make Up For Ever Smoky Lash in Black
I used
- UDPP
- Urban Decay Snakebite
- Tarte SmolderEyes Amazonian clay waterproof eyeliner in Silver Black
- Make Up For Ever Smoky Lash in Black
Subscribe to:
Posts (Atom)